Desert Divide DozenThe San Jacinto Mountains are one of the principal mountain ranges in Southern California with summits rising more than 10,000’/3050m above sea level. The northern section of the range offers some of the most beautiful hiking and backpacking in Southern California and is quite popular. But I had something else in mind this past Memorial Day weekend: The lesser known and less frequently visited southern section of the range.
Stretching south of the main summit region of the San Jacinto Mountains is a long high ridge — the Desert Divide. Along this high ridge, the Pacific Crest Trail (PCT) ascends on it’s journey north. Twelve peaks lie along or very near this section of the PCT — the Desert Divide Dozen. In order from south to north, they are:
- Butterfly Peak (6240’+/1900m+)
- Ken Point (6423’/1958m)
- Lion Peak (6868’/2093m)
- Pine Mountain (7054’/2150m)
- Pyramid Peak (7035’/2144m)
- Palm View Peak (7160’/2182m)
- Cone Peak (6800’+/2073m+)
- Spitler Peak (7440’+/2268m+)
- Apache Peak (7567’+/2306m+)
- Antsell Rock (7679’+/2341m+)
- South (Southwell) Peak (7840’+/2390m+)
- Red Tahquitz (8720’+/2658m+)
Note: Peak elevations shown with a plus sign after the elevation are peaks whose exact height has not been determined by the US Geological Survey. The height listed is the height of the highest contour shown on the map.
On this trip, I and my companions set out to climb these twelve. We knew that it would be a bit of a stretch to fit in all twelve in just 3 1/2 days. None of the peaks are on trail, many have no clear route, several involve travel on class three rock, many are guarded by dense chaparral and, most challenging of all, water would be scarce on the Desert Divide. Water, or lack thereof, would make or break us on this trip. We would travel as light as possible, but unfortunately, there is little one can do to ameliorate the 2.2 lbs/1 kg per liter that water weighs.
DAY ONE
Our journey starts on the Pines to Palms Highway (SR 74) at the PCT trailhead. Our section of the PCT is just a modest 30.5 miles long, but we estimated that our peak bagging would add another 10 miles to our trek — probably the hardest 10 miles of the trip.

To keep the weight down, we started off with about 3 liters each, with a planned refill at mid-afternoon. Routes, distances, peaks, and camp sites would have to be carefully coordinated with water points. Each water point was meticulously researched as to its exact whereabouts and reliability. Since there might be as much as a day and a half’s travel between water points, any failure to find water would be very serious.
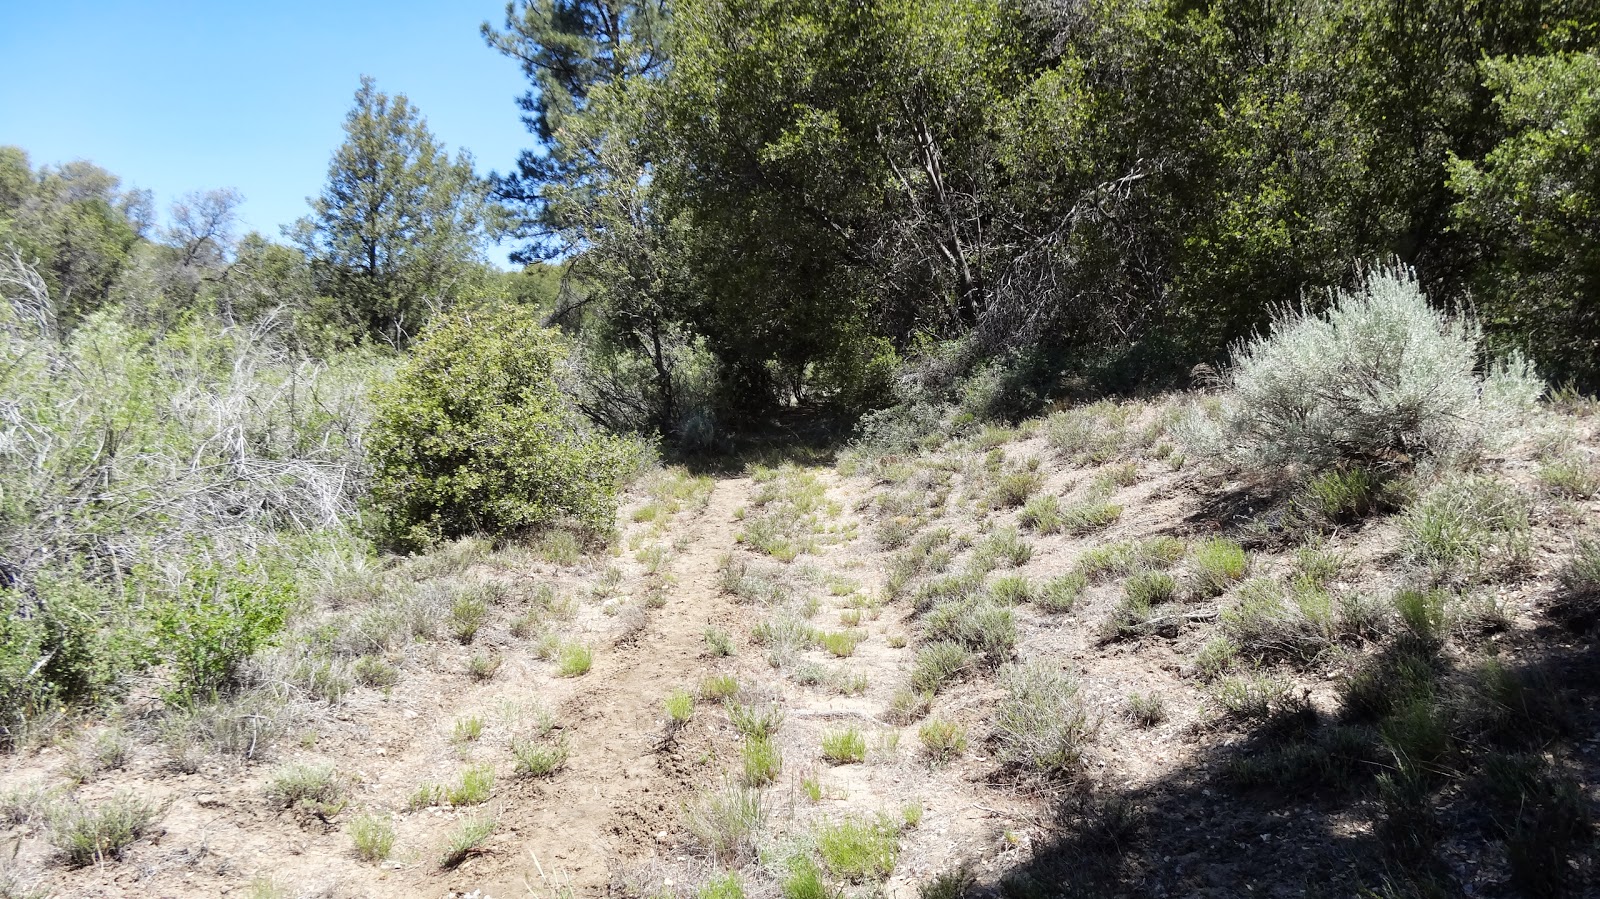
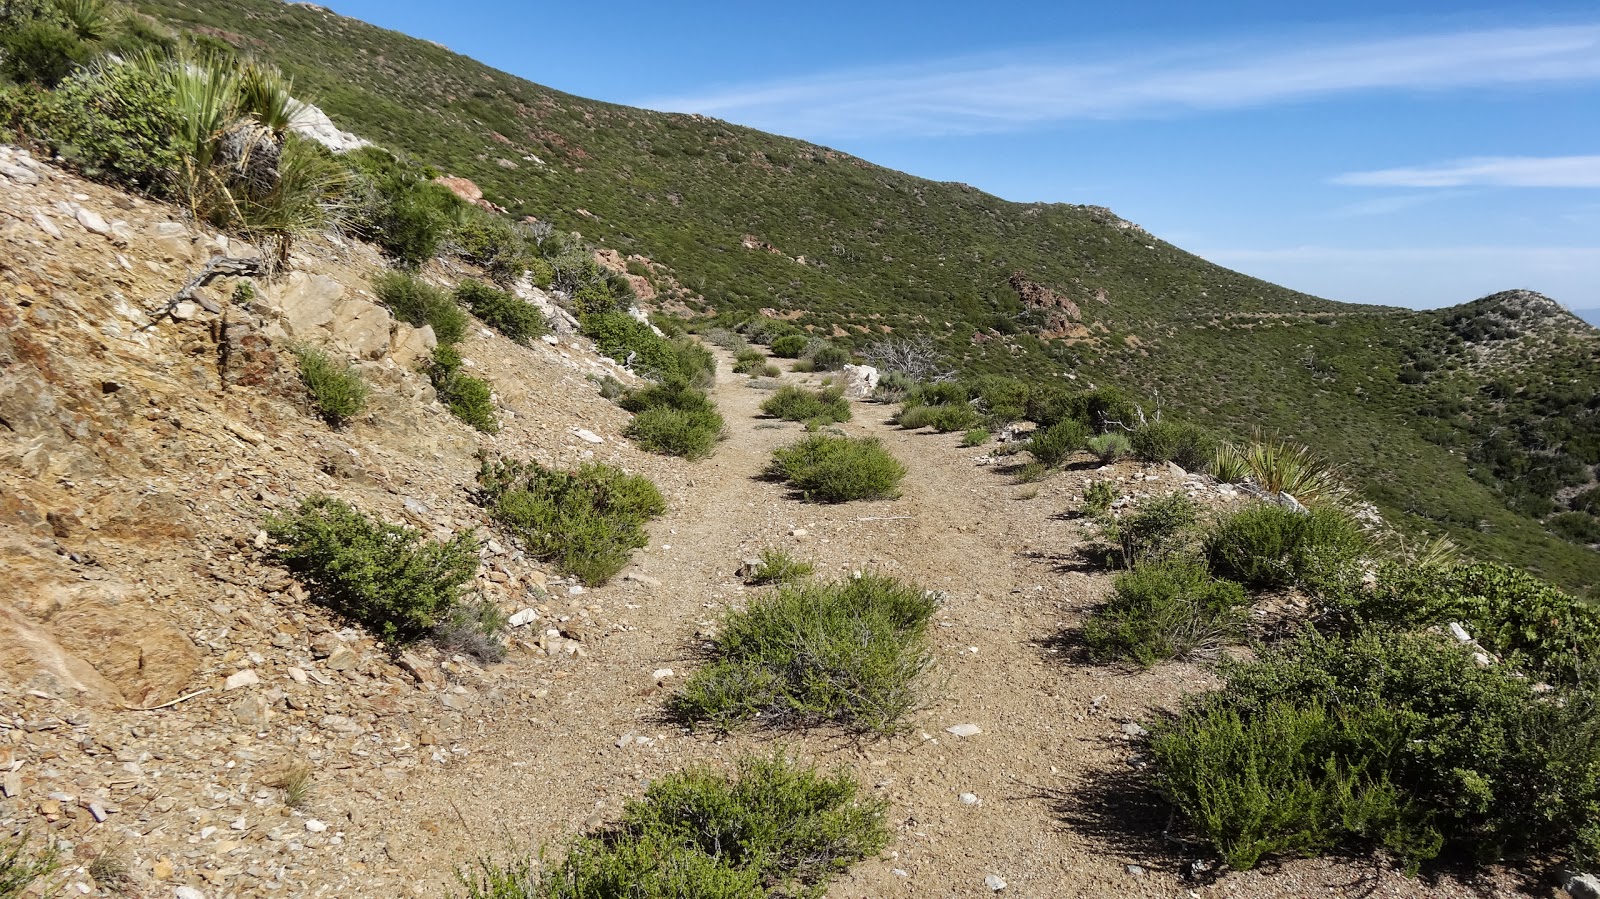
The start of the trek is easy terrain: Rolling country covered with the dense thicket of dry land brush commonly known as chaparral.

Bush whacking through thick chaparral is known to cause travelers thoughts of suicide, but fortunately for us, the PCT provides a well maintained path through the dense vegetation.

Interesting rock formations abound in the first stretch of the PCT, such as this one, the Bishop’s Mitre.

Soon, we took our first detour off the PCT and headed toward Butterfly Peak (6240’+/1900m+). It’s not marked on any map, but there’s a short connector trail that links the PCT to Forest Road (FR) 6S10. I’ve marked our route to Butterfly Peak in cyan.

En route, we came across the remains of the Gold Shot Mine.

FR 6S10 was clearly a road up to the side road leading to the Gold Shot Mine. The road was still followable after the side road, but it was no longer as clear.
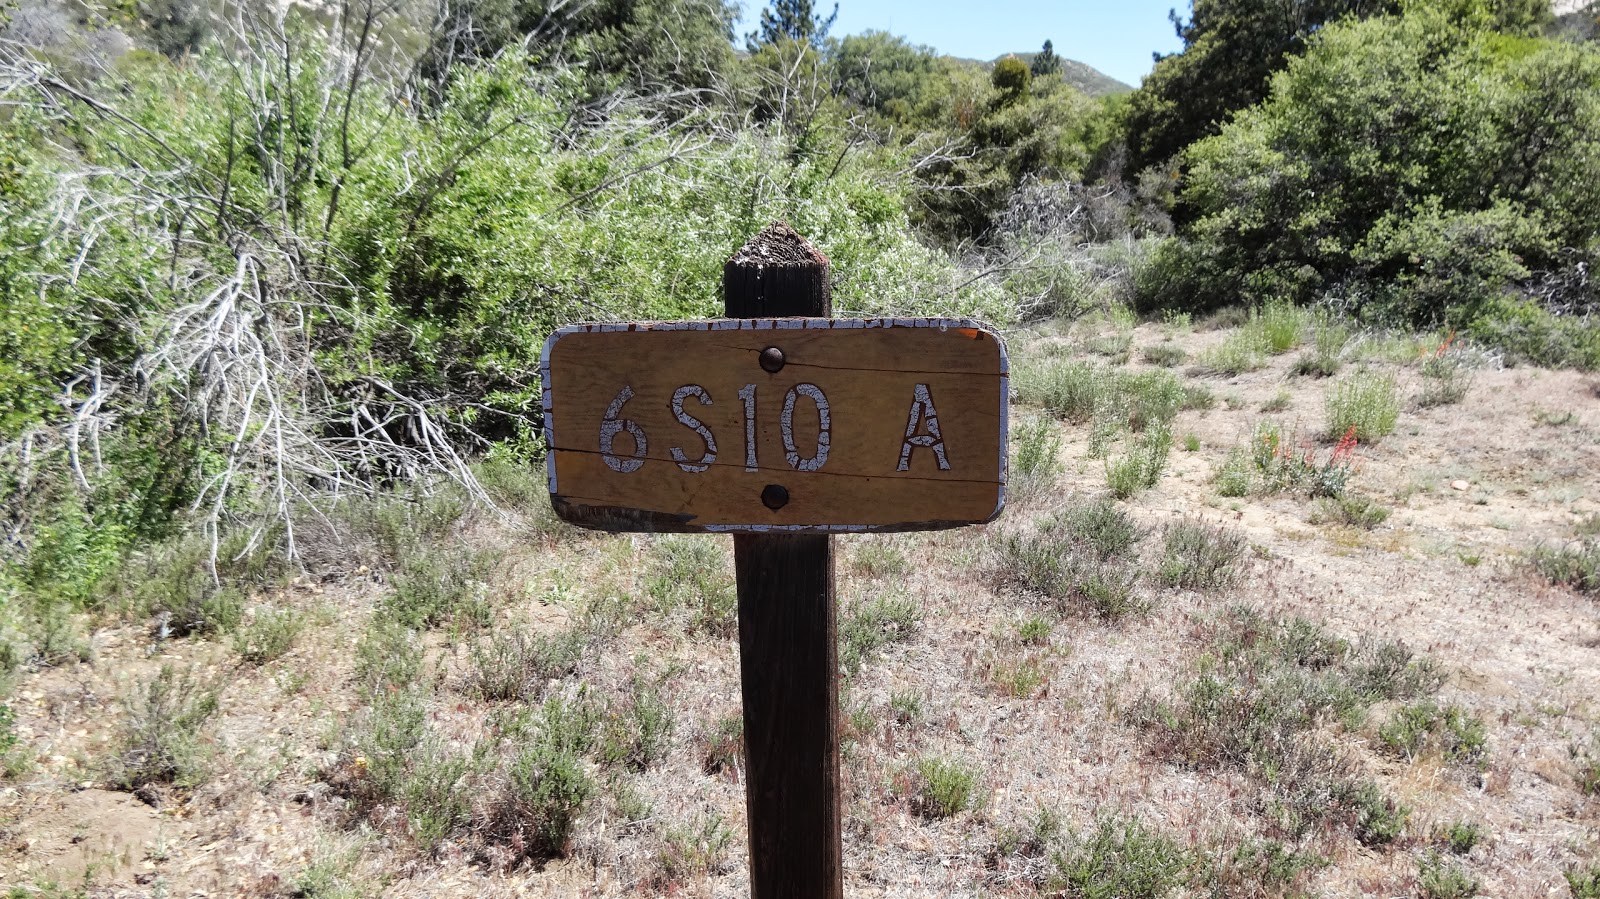
At the junction of FR 6S10 and FR 6S10A, there is a corral built directly astride the road. In order to get to either FR 6S10 or FR 6S10A, one must go through or around the corral.

Our route to Butterfly Peak goes NNW at this juncture and follows FR 6S10A. Calling FR 6S10A a road is somewhat charitable. It may have been a bulldozer track at one point, but it’s a road in name only today. The “road” is however signed just beyond the corral. In the photo below, you can see the “road” just beyond the sign.
The road crosses a dry creekbed and then proceeds to a shallow gully. We had hoped that an obvious route would have been worn into the brush by the passage of many feet, but no such luck. There was no obvious track and no brush free path.
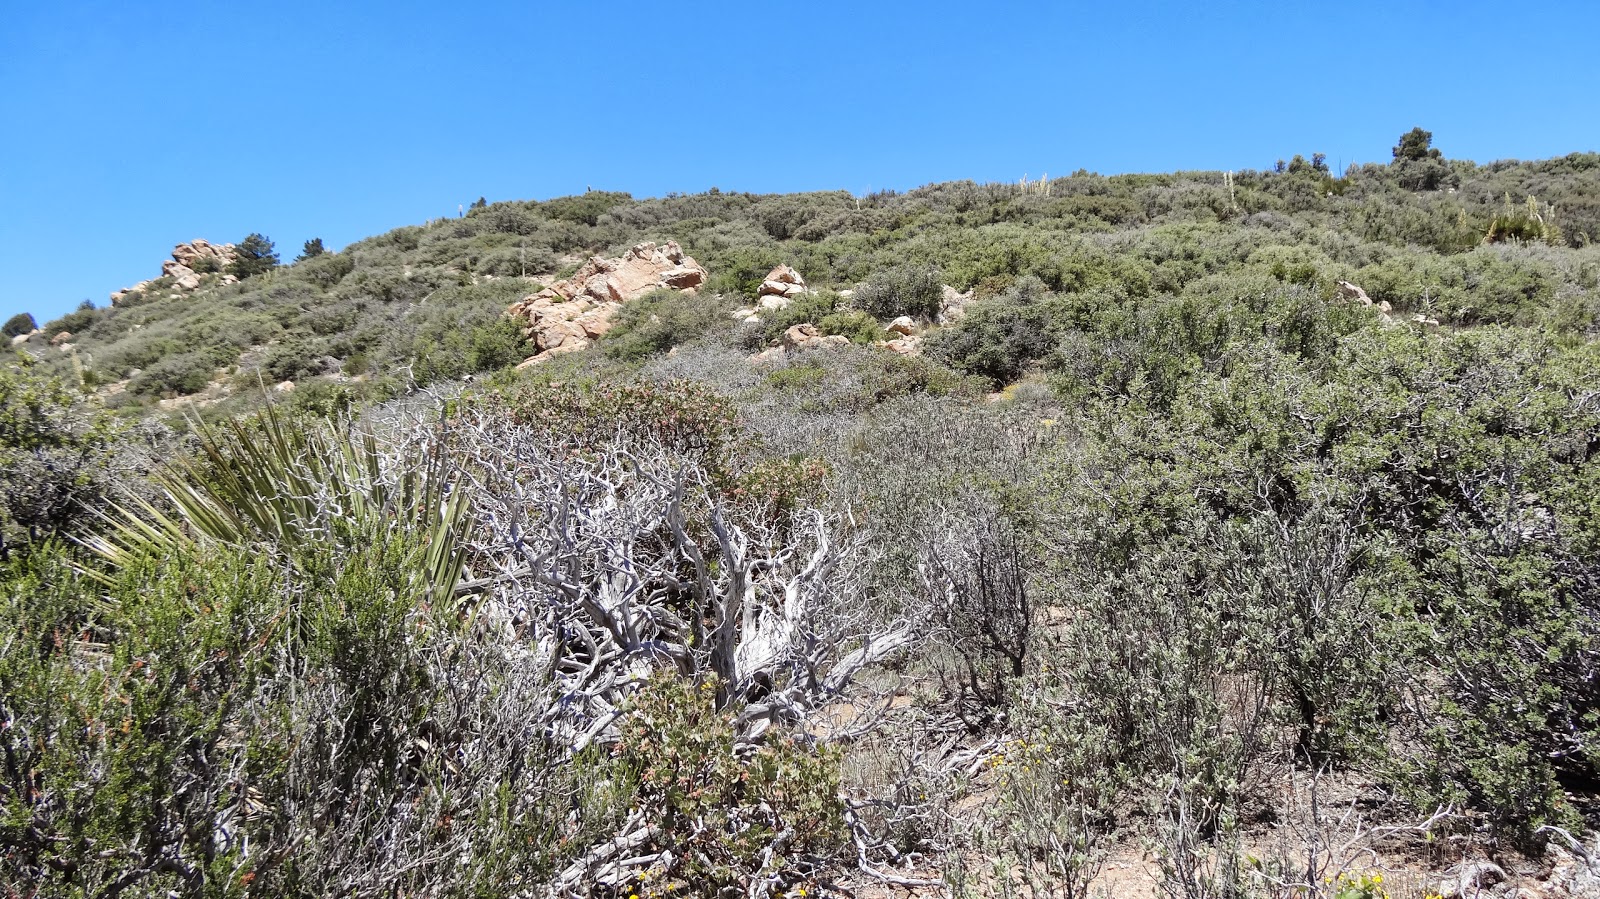
Fortunately, the brush wasn’t too dense, and we were able to ascend without too much bushwhacking. Soon, we gained the summit ridge and then the small summit block (class 2/class 3).

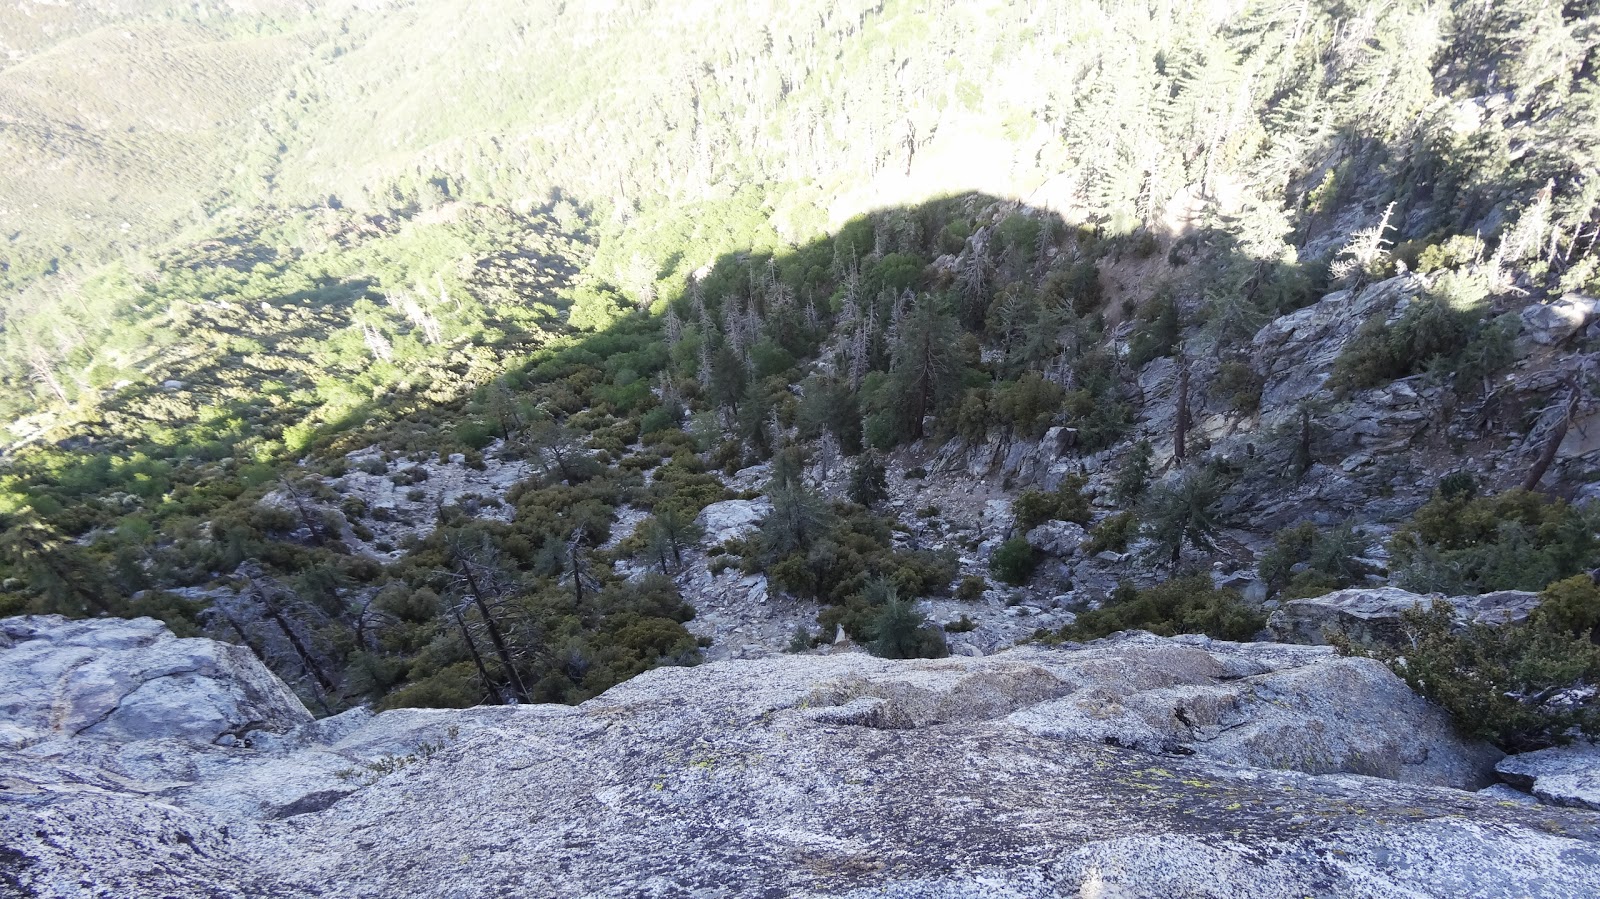
From Butterfly Peak, we got our first good views of the next day’s first objectives: Lion Pk, Pine Mtn, and Pyramid Pk.

Not only could we see some of our near objectives, we could see all the way to the highest points in the San Jacinto Mountains:

From Butterfly Peak, we re-traced our steps back to the corral. It took us some time to find FR 6S10. We beat through the brush looking for a road only to realize that the small, single track cow path leading NNE from the corral must be the continuation of FR 6S10. It was here that we had our first gear failure: The brush was so thick that a water bladder in the outside mesh side pocket of my pack got sliced open as I forced my way through the brush. TIP: Water bladders in outside mesh side pockets aren’t such a good idea when bushwhacking. Yes, Nalgene bottles are comparatively heavy (6 oz ea for the one liter hard Nalgenes), but they may be worth it for bushwhacking.
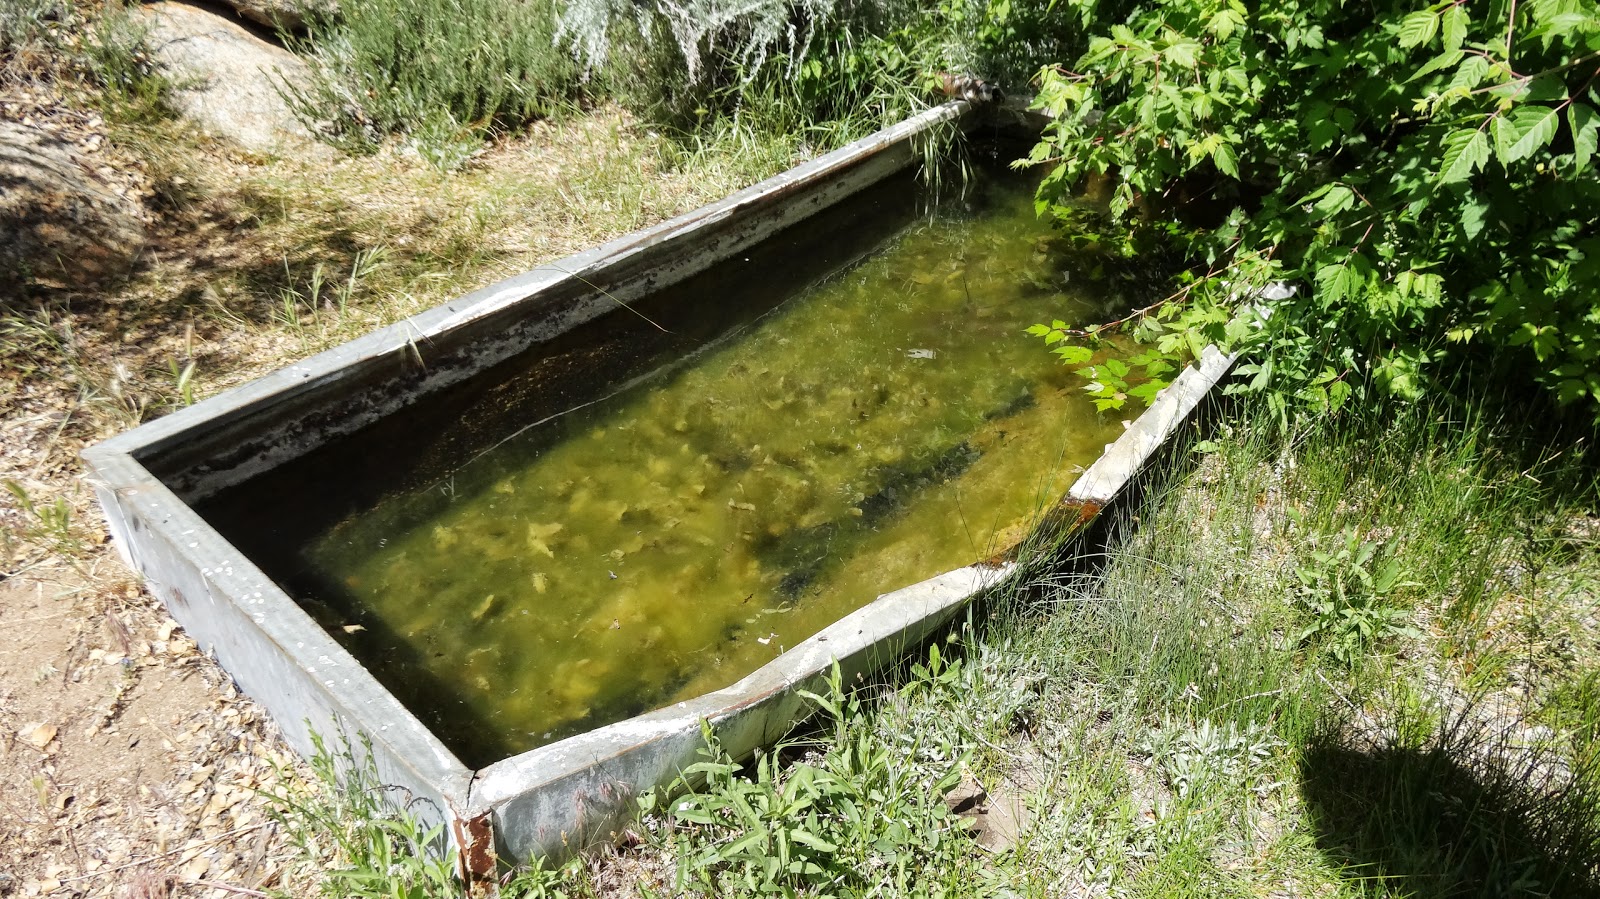
Heading NNE along the cow path, we crossed a log set across the trail at a right angle. The log marks the short side trail to Tunnel Spring.
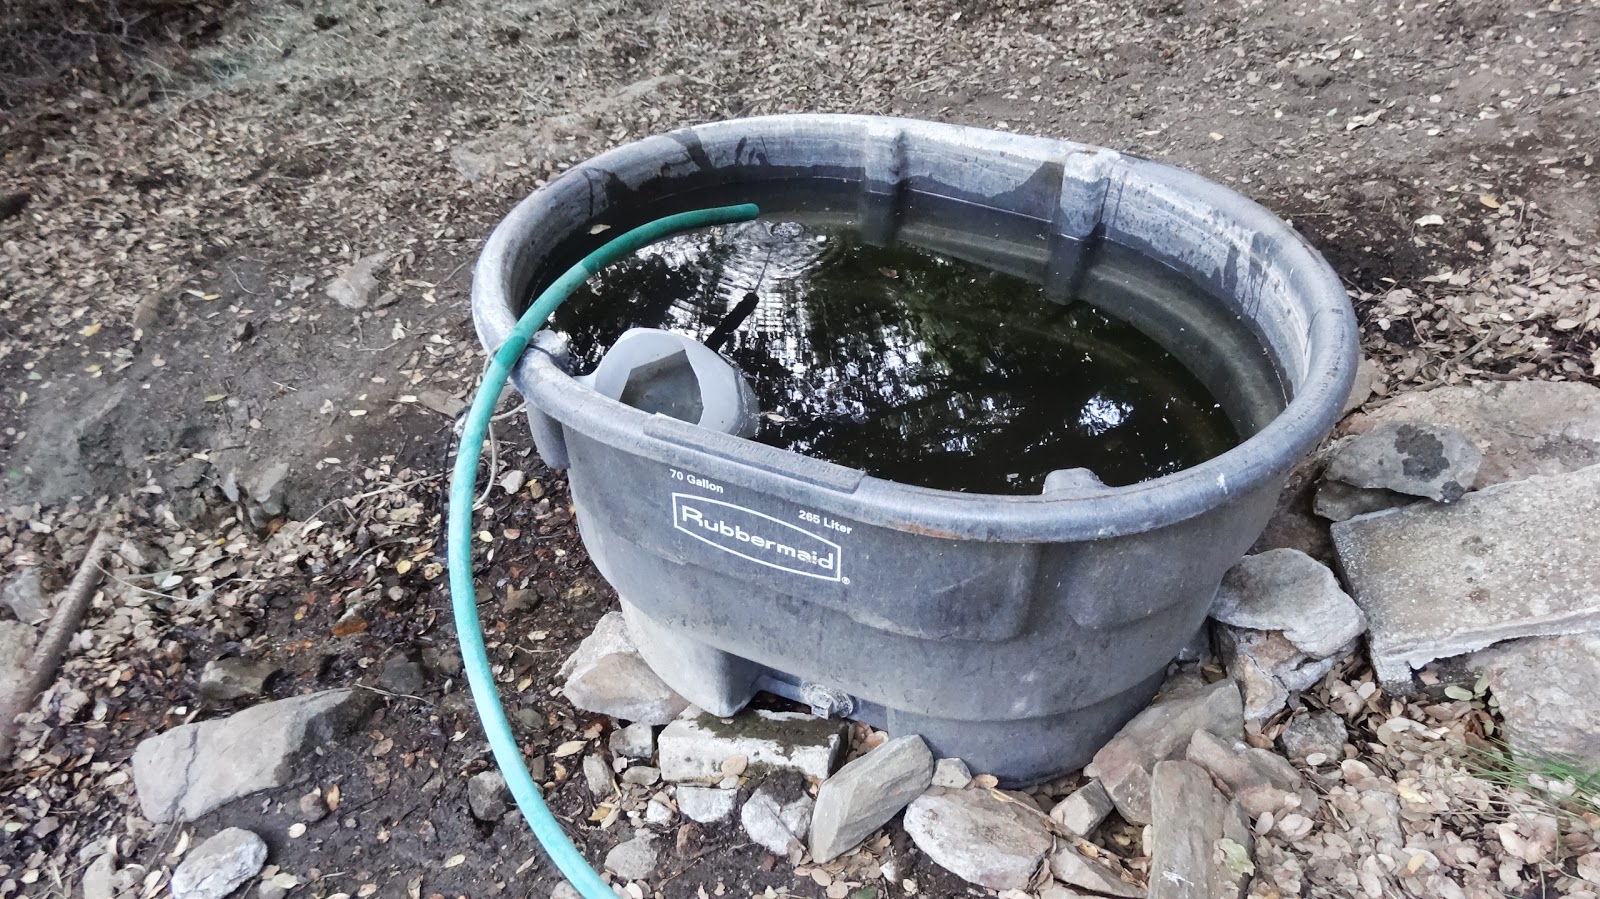
We reached the spring around 2:30 PM. The water was green looking, but we were overjoyed to see it. It was a hot day and we were nearly out of water. Had we not found water here, we might have had to abort the trip or take the substantial risk of heading to an alternate water source without adequate water. We each tanked up on six liters, knowing that we wouldn’t see another water source until evening of the following day. After filtration, the water had a bit of an “oily” taste too it, but we were grateful.
Heading uphill to re-join the PCT, we followed what appeared to be a heavily eroded bulldozer track.
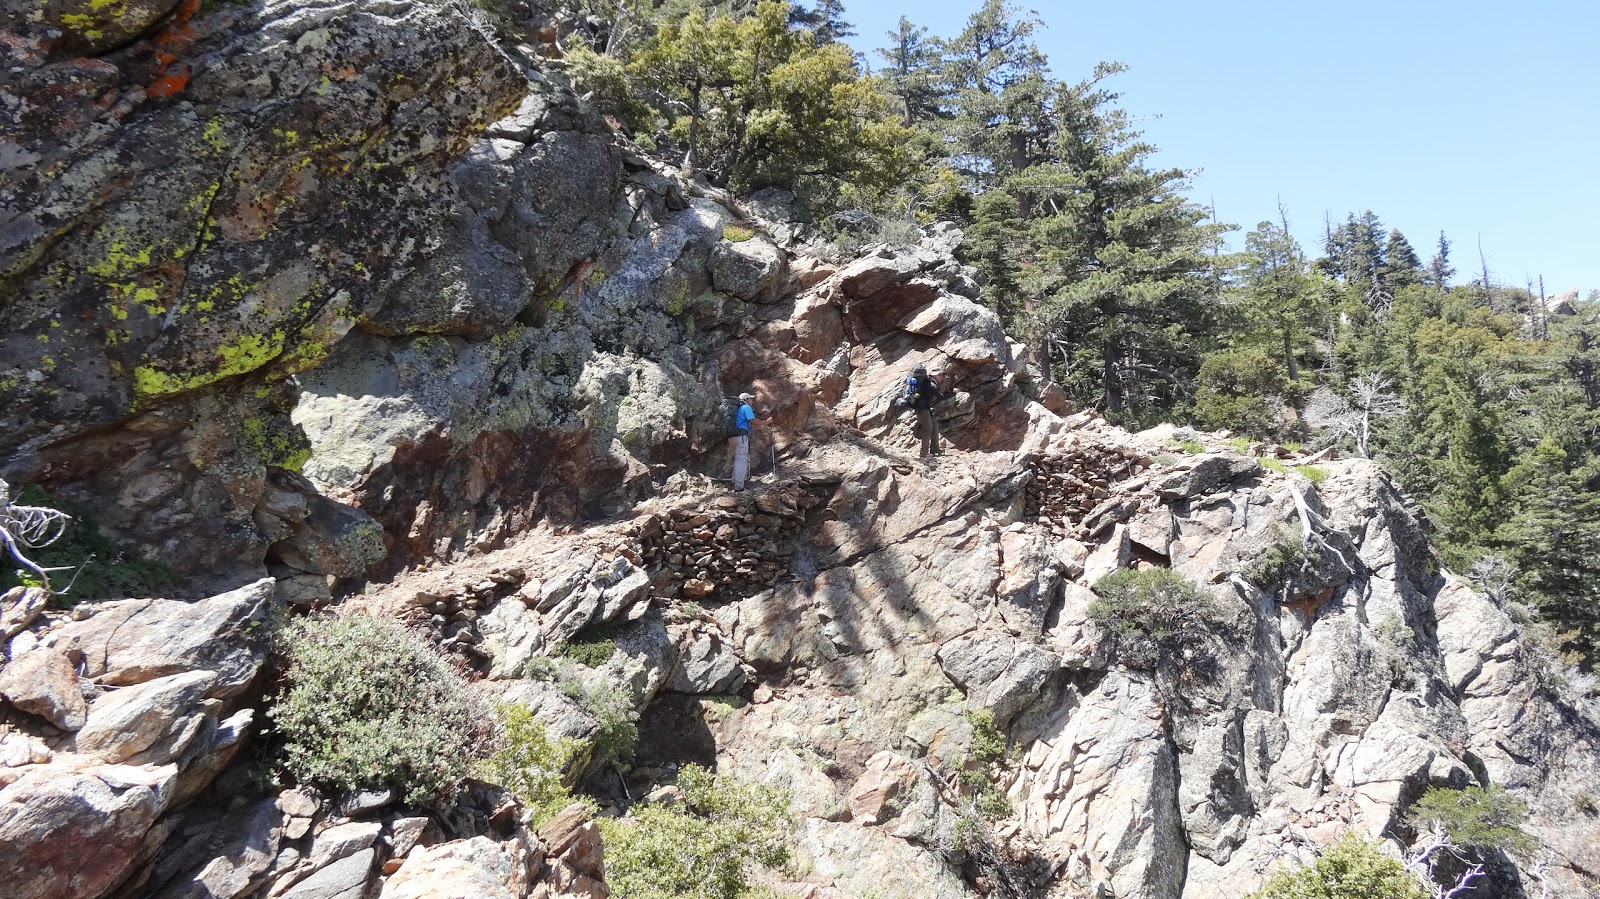
At the PCT, we turned right (south) and actually headed back toward our entry trailhead for a short distance. Soon though, we turned off on the side trail that leads toward Ken Point. The trail was a bit sketchy in a couple of places, trail maintenance not having occurred in some time.

The trail joins an old road after two small saddles. From the road, we could see our ascent route, the ridge on the horizon that runs up to the summit of Ken Point.
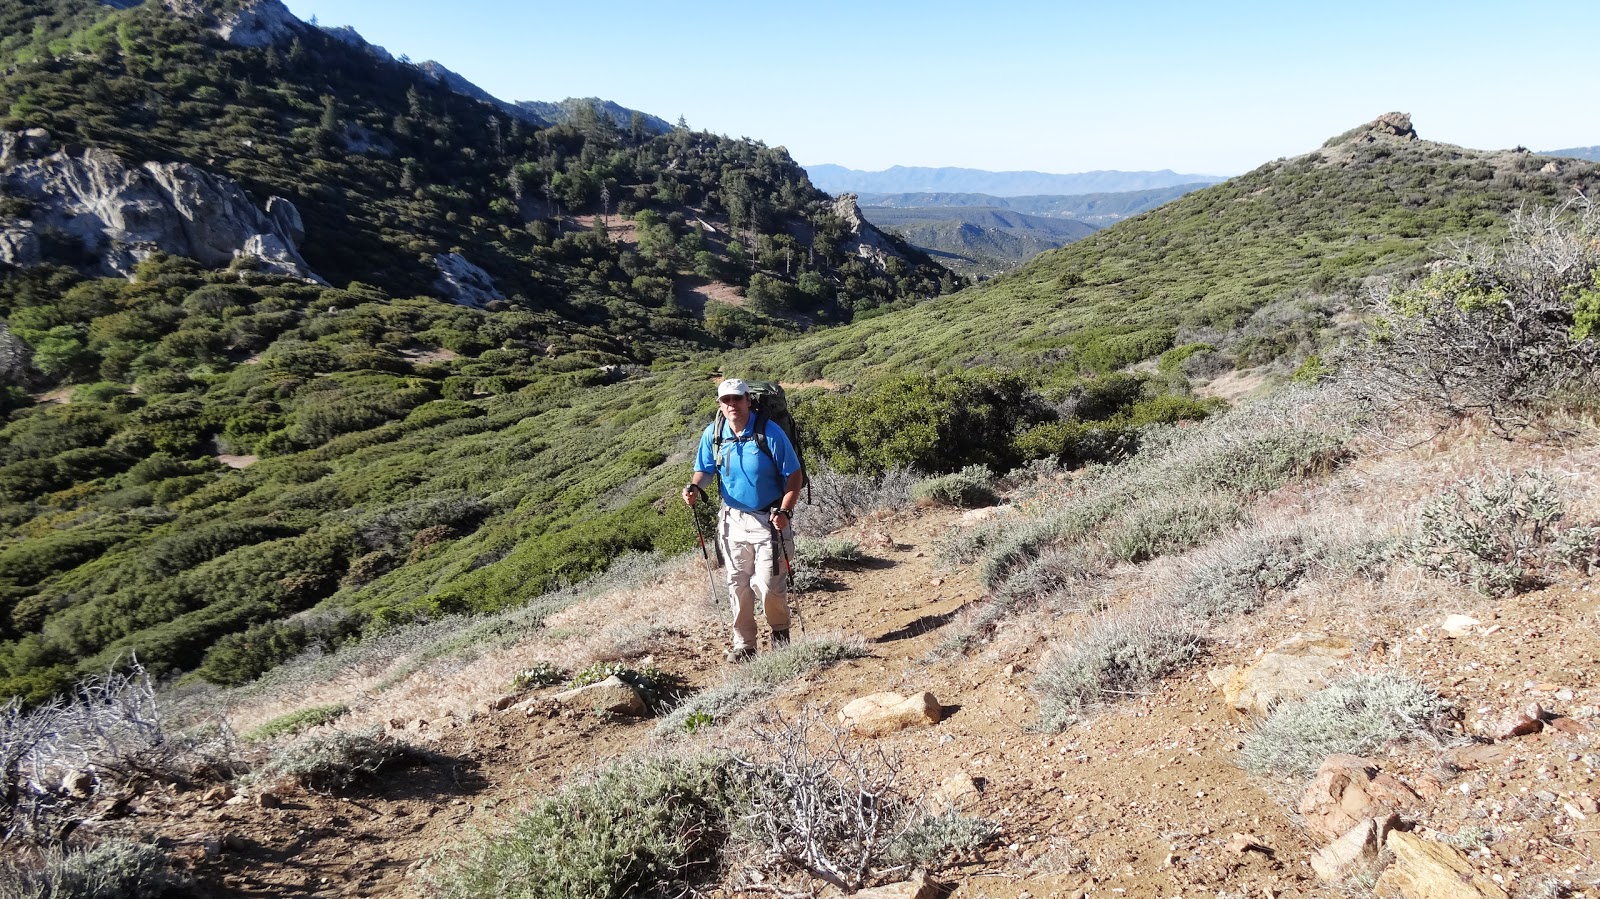
Note: If you look at my route map, above, the solid bright green line marks our route to Ken Point. The dotted line that leads to Ken Point from the north is a route that I read about on the internet but could not find. Our route was brushy but not bad. There had obviously been a fire within the last several years, so the brush wasn’t overly tall. My friend Kevin atop Ken Point:
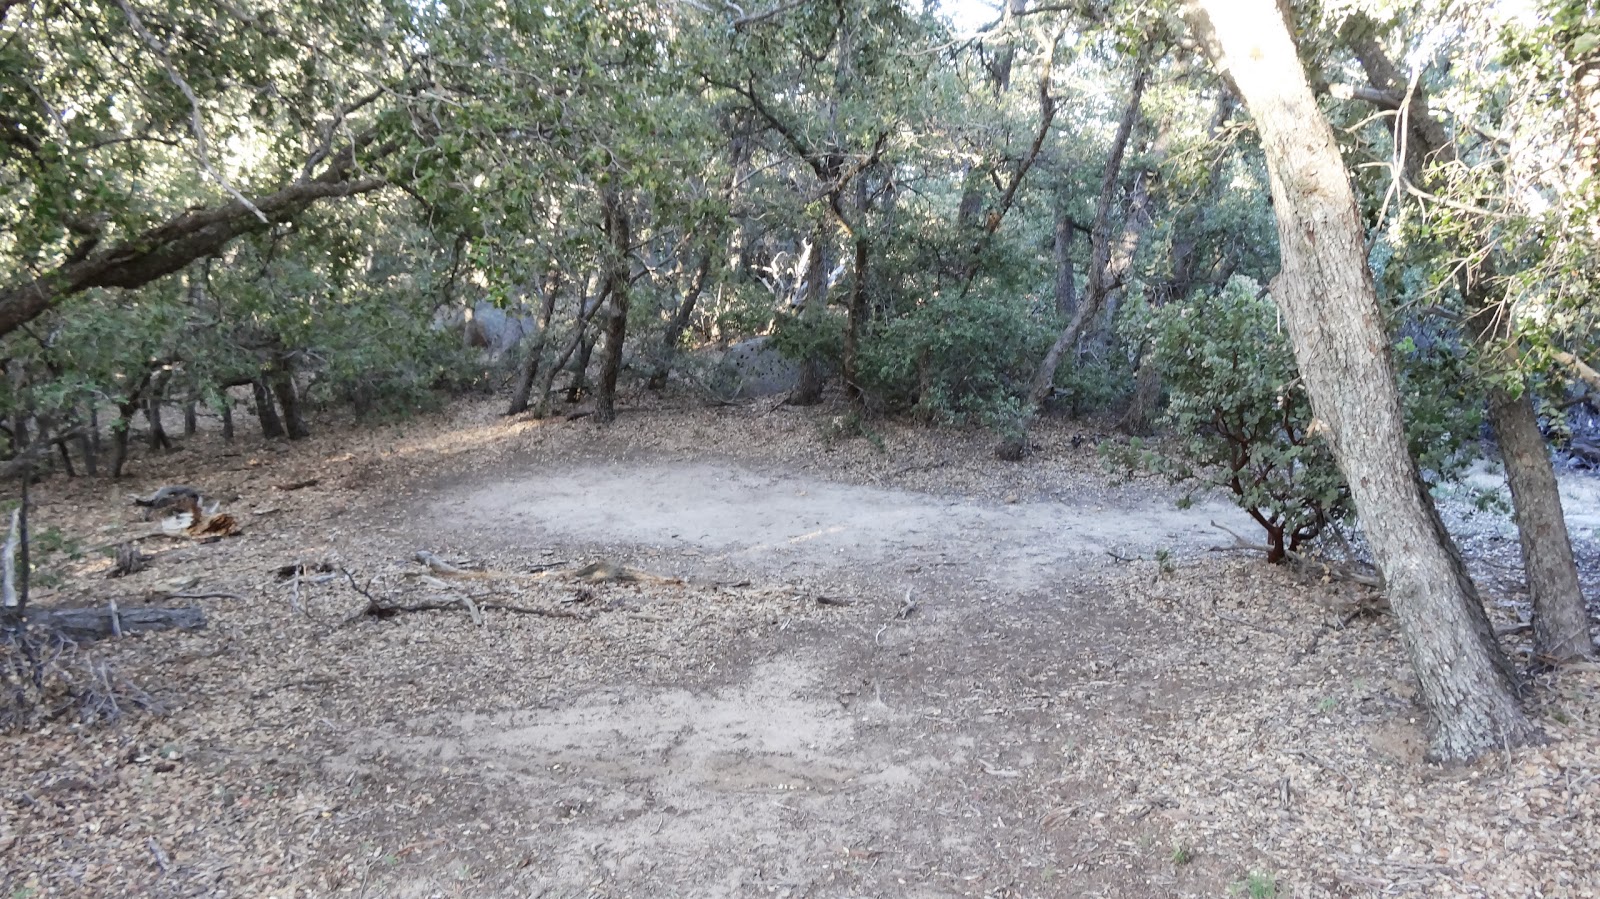
The day drawing on, we beat a hasty retreat down from Ken Point back to the PCT whereupon we resumed our northward journey. The countryside was quite brushy, with not many inviting places to camp, particularly for a group of three. Finally, at about PCT mile 160, we found what we were looking for: A site big enough for three (with room to spare actually). We set up camp and had a lovely meal of garlic pasta shells with sun dried tomatoes and dried turkey.
DAY TWO
On day two, we packed up, intent on hitting five peaks for the day. In terms of numbers of peaks, this would be our most ambitious day, and we’d have fairly heavy packs since we wouldn’t see any water until evening.
Starting out, we made good time. Too good in a way. We were trucking along thinking that the peak routes would be fairly obvious since these peaks were all much closer to the PCT than the peaks we did the day before. No such luck. We walked right by the route to the first peak, Lion Peak. What a dumb blunder! TIP: A map in your pack is as bad as no map at all. Frequent map checks prevent stupid mistakes.
Speaking of maps, here are the routes for our first three intended peaks of the day:
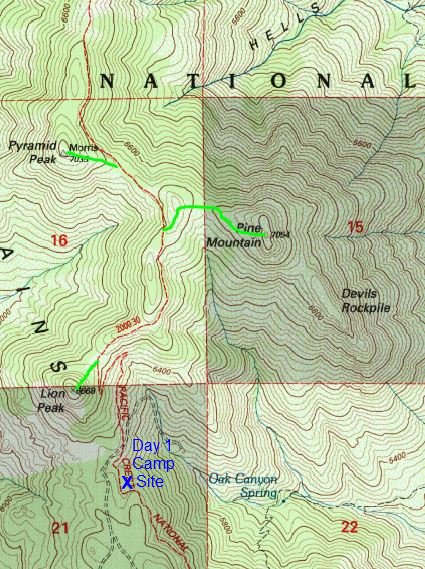
Reaching the route for Pine Mountain, we realized that we had already passed the route for Lion Peak. Looking back (!) at Lion Peak:
Crud! Well, “do what is before you” as they say; off we went to Pine Mountain. Pine Mountain is a really great peak. There are some brushy parts, but for the most part the brush has been trimmed back, except for the portion of the route that descends to the saddle just west of Pine Mtn.

Still, there was a lot of up and down on the route to get around brush and rock. The route finding was not always obvious.
The summit of Pine Mountain has a nice little class three section.

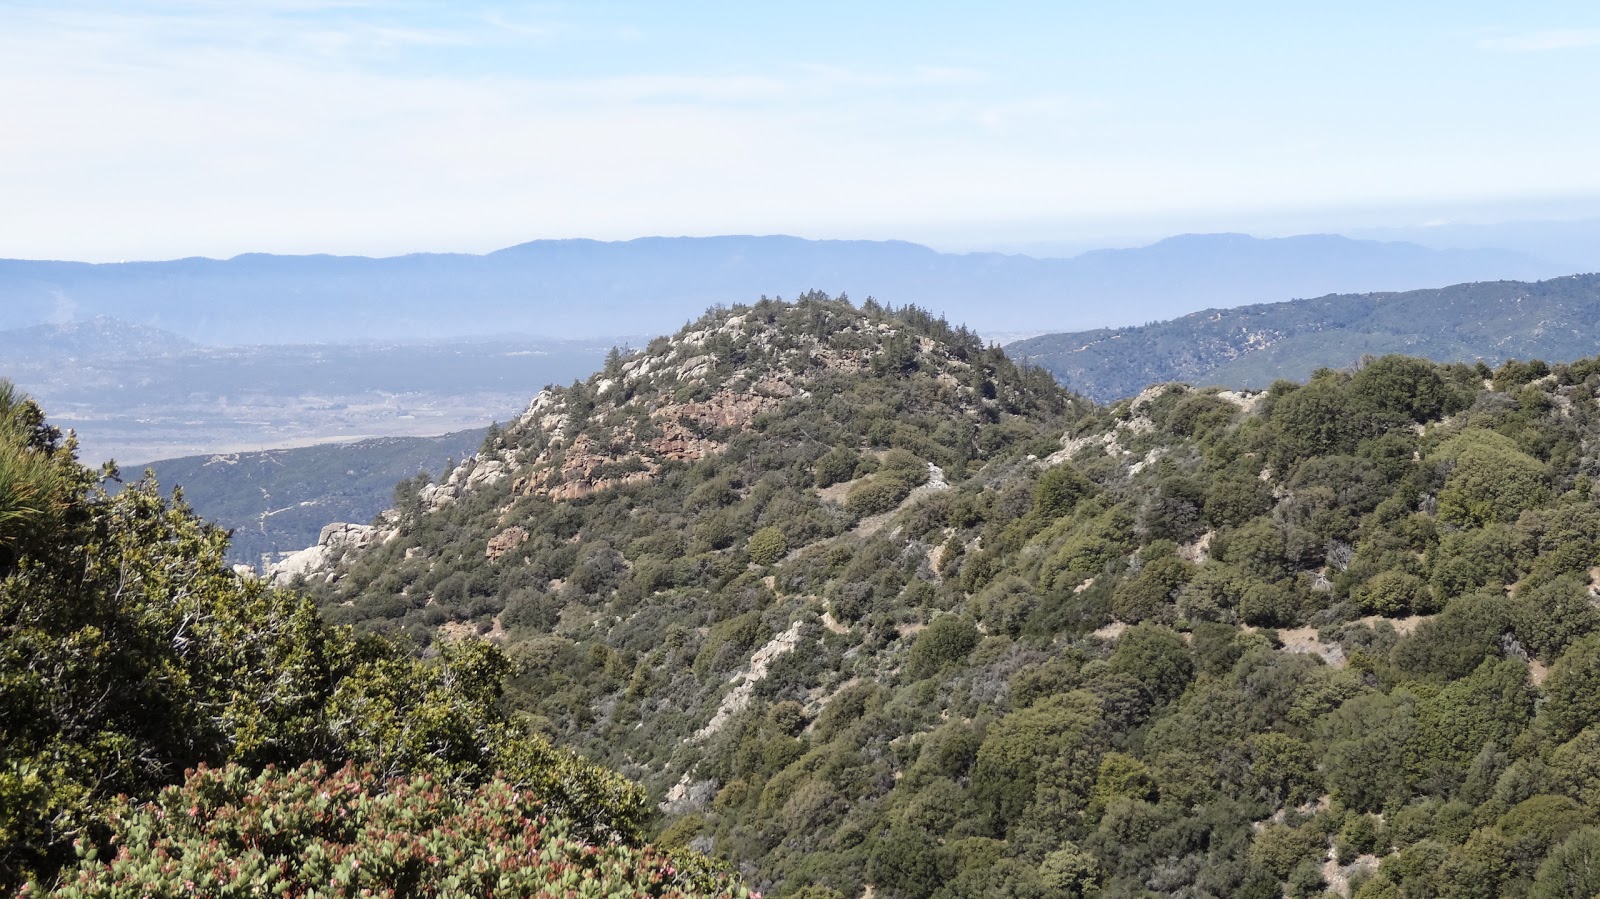
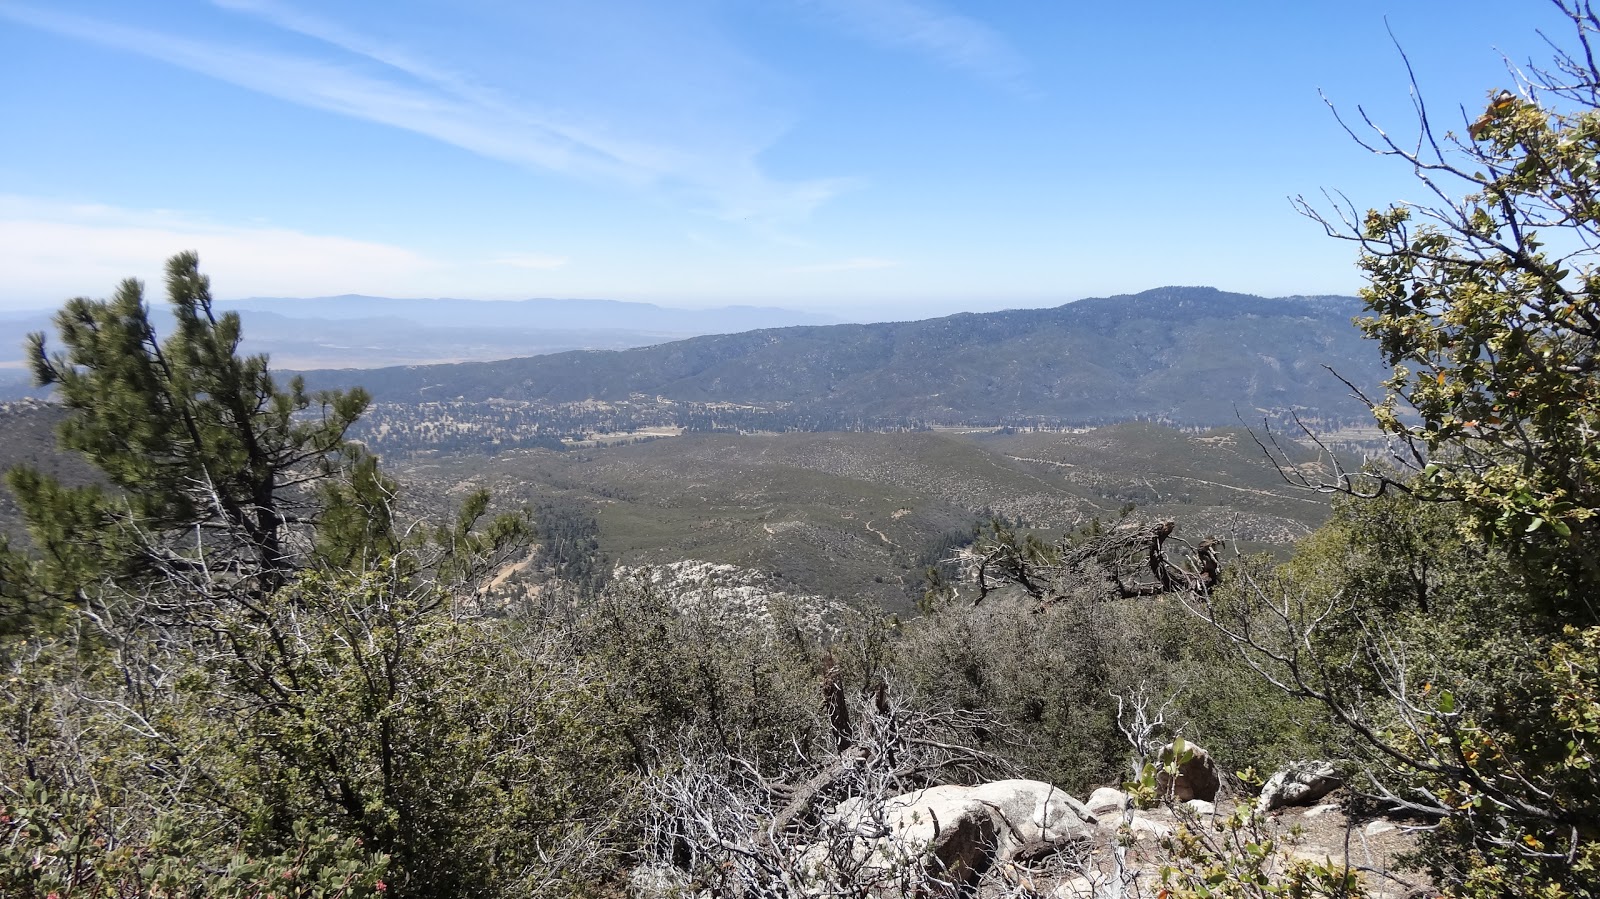
The views from the summit are outstanding.

Not to be denied my twelve peaks, I raced back to Lion Peak. Probably a silly thing to do, particularly since the views are not very good from the summit, but I was determined. The retracing cost us at least an hour though.
Next came Pyramid Peak which wasn’t bad in terms of brush but was very steep. Here, we’re on our way back to the PCT after our ascent. Pine Mountain can be seen in the near distance.

Unfortunately, we left a water bottle, an entire liter, on the summit by accident. Water being precious, we went back to retrieve it. More time lost.
It’s quite some distance to the next two peaks on our agenda, Palm View Peak and Cone Peak. Cone Peak in particular has a nasty reputation for brush and tough route finding. Approaching Palm View Peak:

After walking for the better part of two days through low brush, we were pleased to finally enter timbered country.

For those not familiar with the Southern California, “mountain” scenery (forests with pines and firs) doesn’t really start appearing until one climbs above about 7000’/2100m. Unfortunately, the Mountain Fire broke out in July 2013, about a month after we passed through this area, and all this beautiful timber may now be gone. This is all the more unfortunate because, having made a navigational blunder at Lion Peak and a water blunder at Pyramid Peak, it was now too late in the day for us to make it to Cone Peak and then all the way to the Fobes Ranch area, our intended camp site. We therefore opted to bypass Cone Peak. We also opted not to do Palm View Peak even though it’s easy and very near the trail thinking that we’d need to come by this way again anyway to get to Cone Peak.
From the Palm View Peak area, we started down the grade to Fobes Saddle. Fobes Saddle is a real heart breaker because one has to lose over a thousand vertical feet (~300 m) in order to reach the saddle. All of this elevation and then some has to be regained the next day. At least the trail is (was) beautiful.

From the saddle, one must first descend west and then turn NW to reach the small spring just west of Scovel Creek, marked as a blue dot on the below map. There are good spots to camp in the vicinity of the spring.

Note that there are not one but two trails leading west from Fobes Saddle. Make sure you take the right hand branch if you need water. The right hand branch was labeled on the day we came through.

The spring is just another cattle trough, but boy were we glad to see it, having not seen water for more than 24 hours. And what luxury to be able to camp near water! I even took a bandana bath. Man! That’s living. 🙂
DAY THREE
From the Scovel Creek area, one re-ascends to Fobes Saddle and then begins the climb north out of the saddle.
We only carried three liters each even though we wouldn’t see any water until possibly the following morning. Only three liters? Yes, it is possible on the Desert Divide, for today we were to be blessed by a trail angel, one Hal S, a volunteer fire lookout at the Tahquitz Peak lookout. I had been talking with Hal before our trip, and he volunteered to carry water up to Apple Saddle and lay in a cache. Thus we were able to make the climb out of the Fobes Ranch area with significantly lighter packs. A special thank you to trail angel Hal.
One soon enters the Federally designated San Jacinto Wilderness area, one of the premier hiking areas of Southern California.
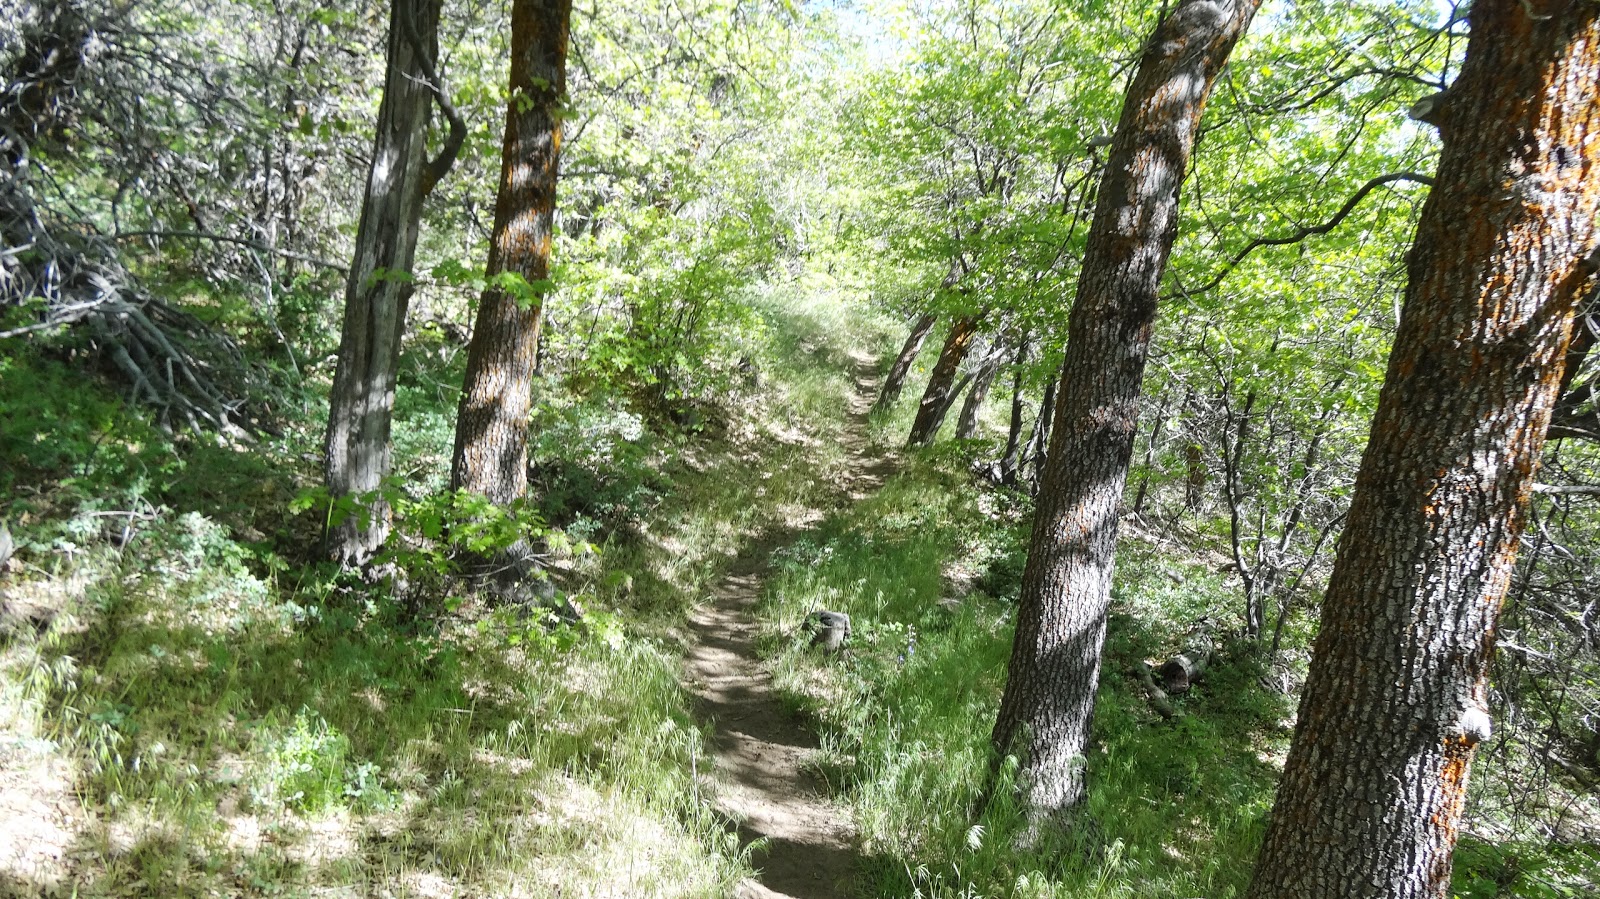
As one approaches the 7000’/2100m mark, the trail becomes greener and more woodsy.
Hiking along, we came to a real treat on our first peak of the day, Spitler Peak: A well defined use trail leading to the peak!

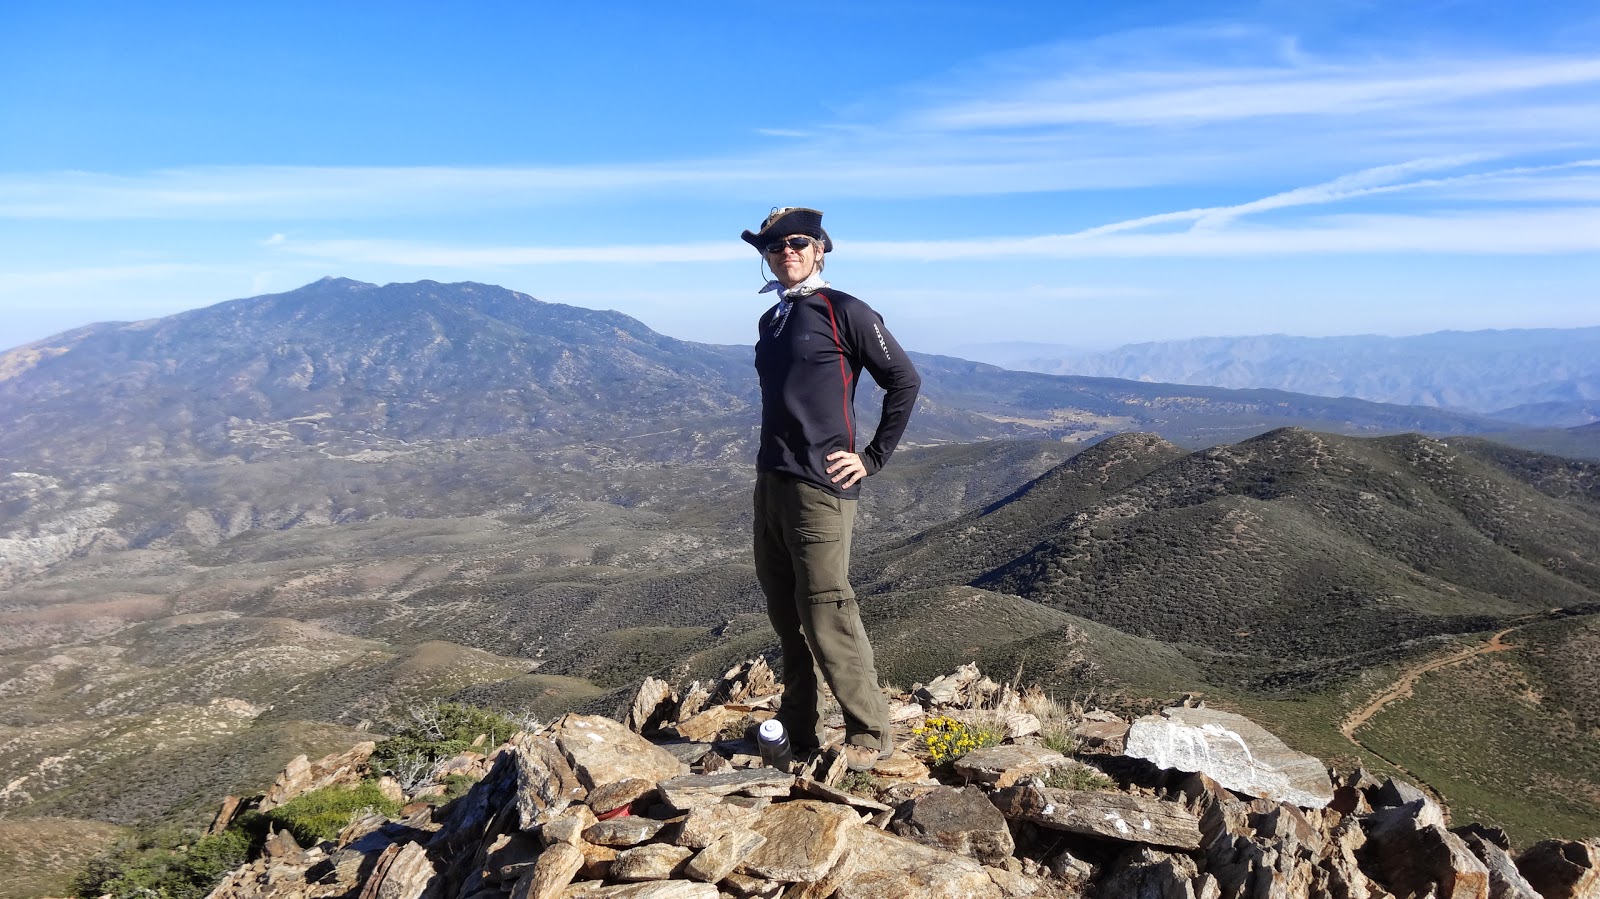
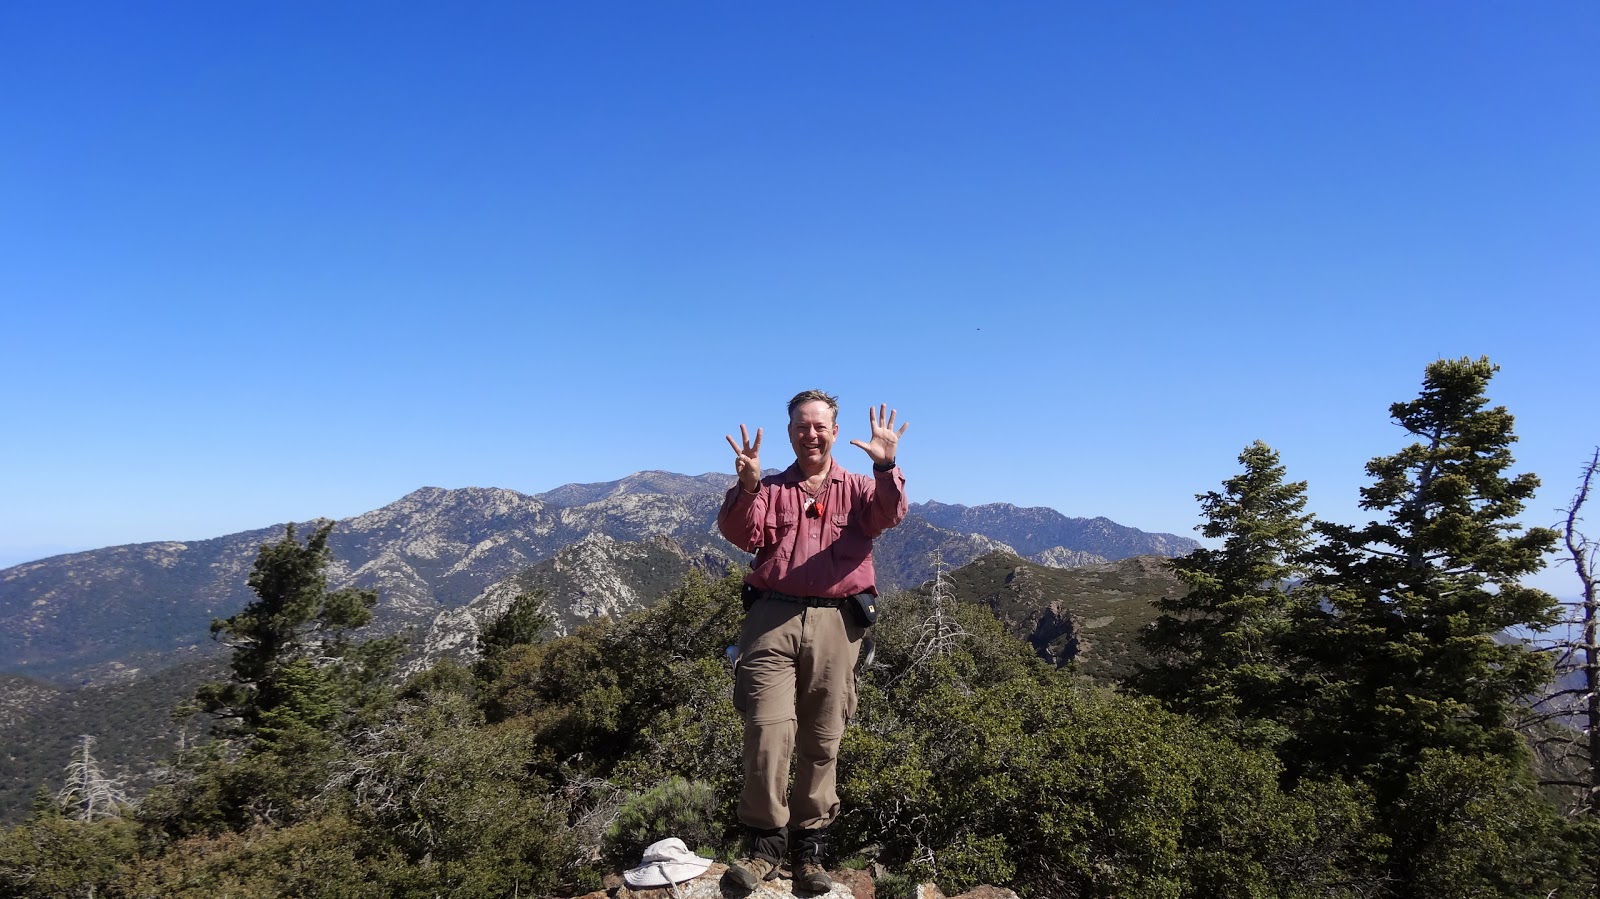
This was so much different than the brushy peaks we had climbed the two prior days. Here we had a trail and even shade! The author, standing atop Spitler Peak, number eight of the Desert Divide Dozen:
The Garner Valley and Lake Hemet from atop Spitler Peak

Traveling further north, we soon came to relatively easily climbed Apache Peak. Apache Peak from the flanks of Spitler Peak:
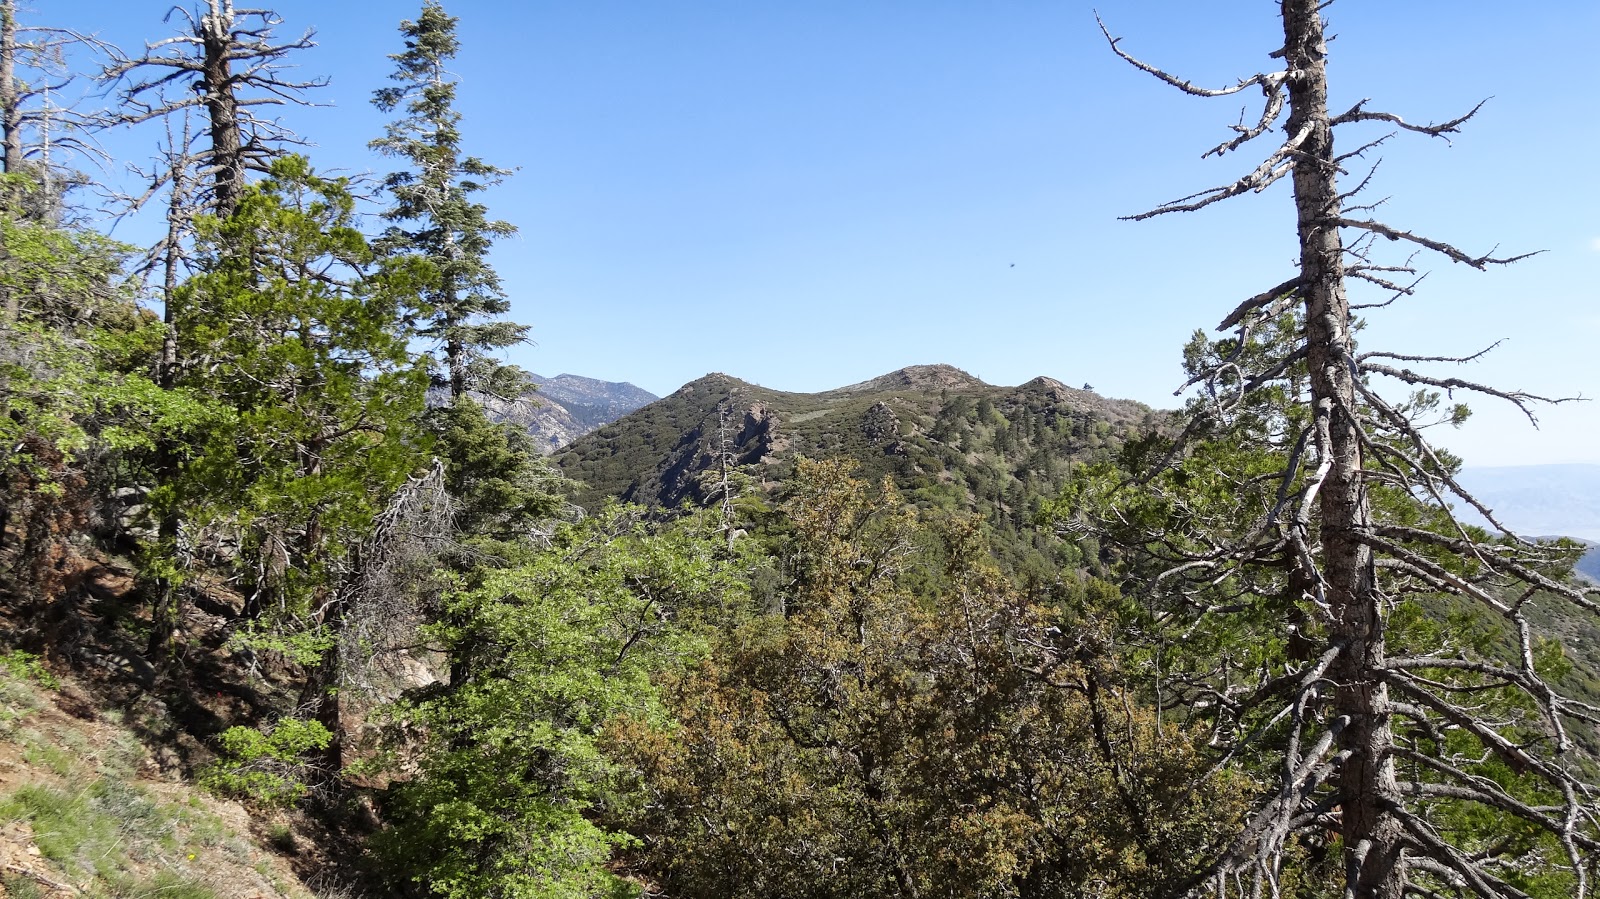
The summit of Apache Peak:

The PCT bypasses Apache Peak to the east. Here, we can see the PCT below us from the upper flanks of Apache Peak:
Rather than go back the way we came, we opted to cut cross country down the north ridge of Apache to regain the PCT. Heading cross country from Apache Peak:
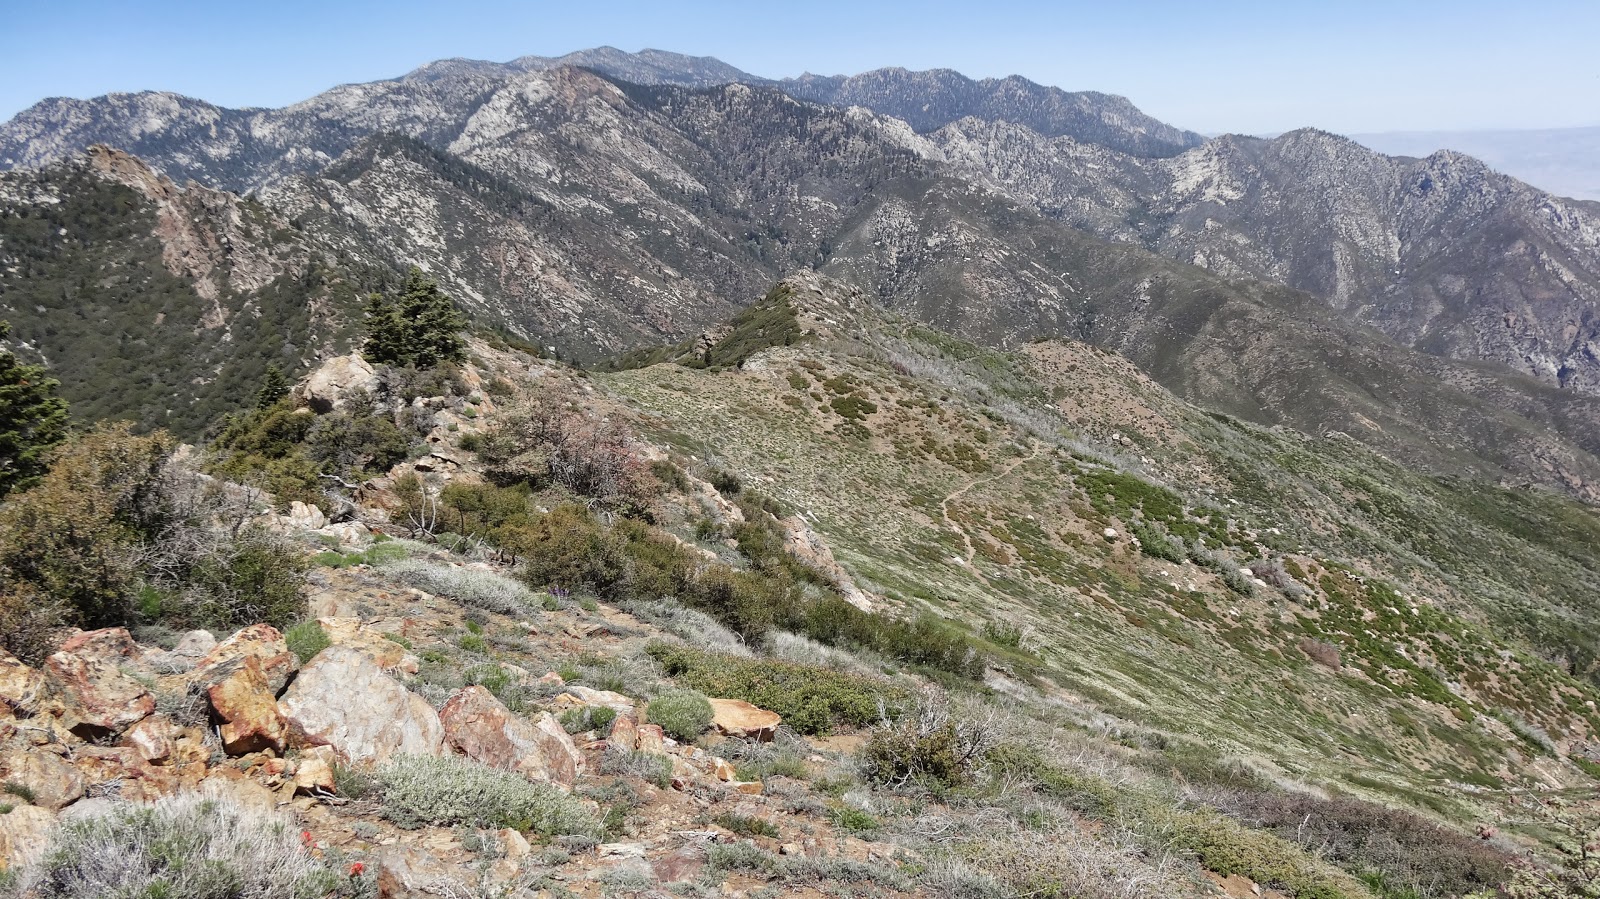
The terrain and brush were quite doable, and the views down into the desert far below were outstanding.

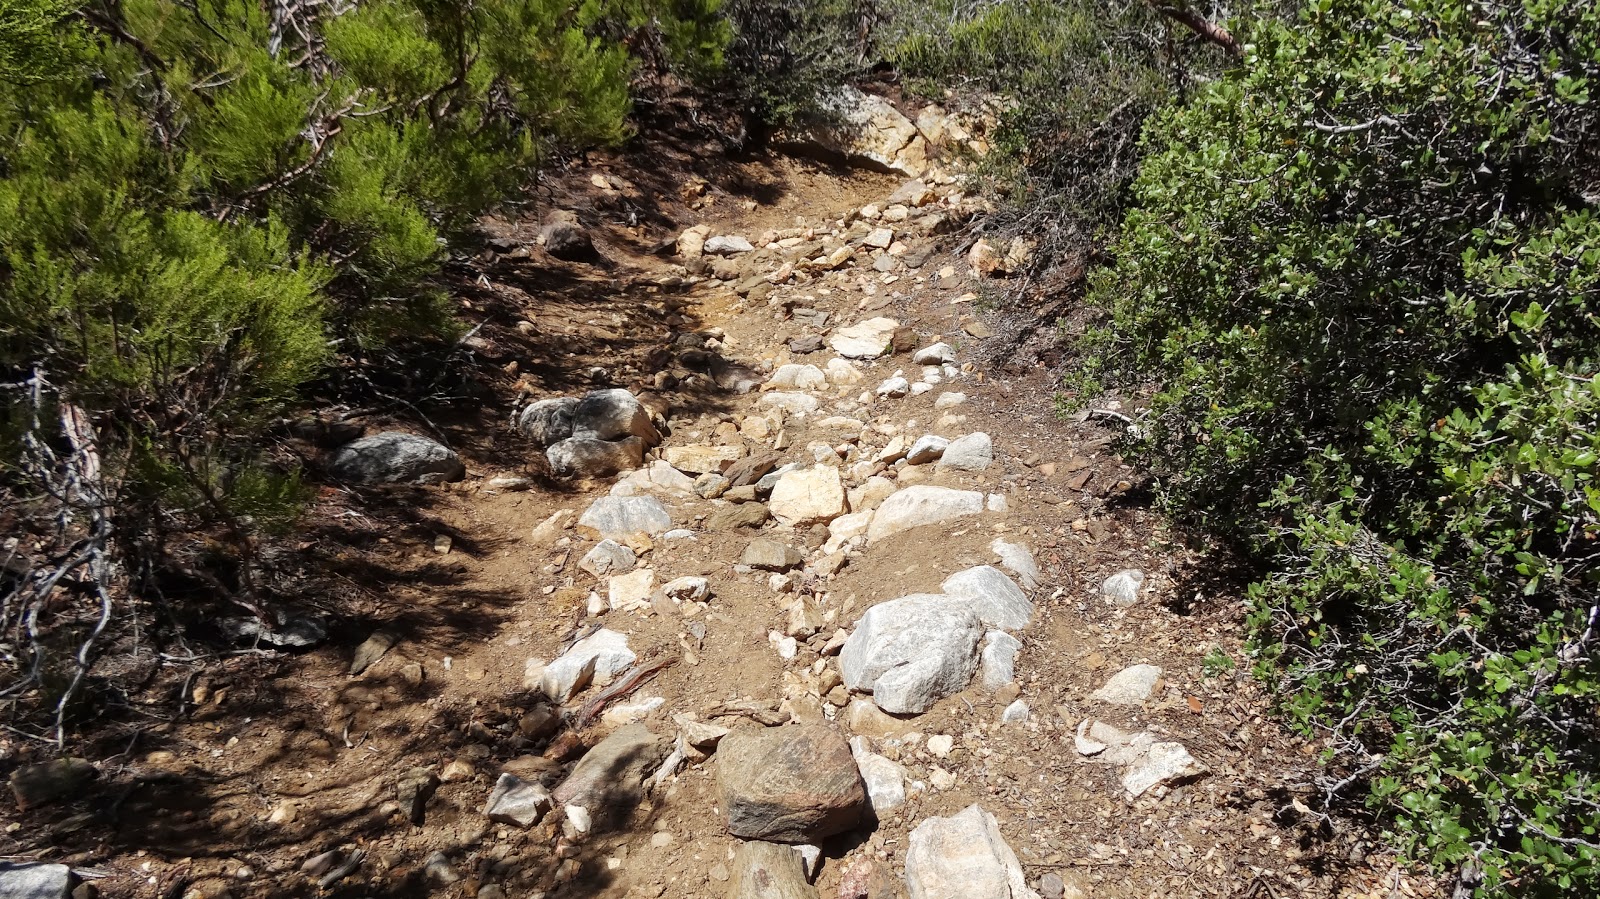
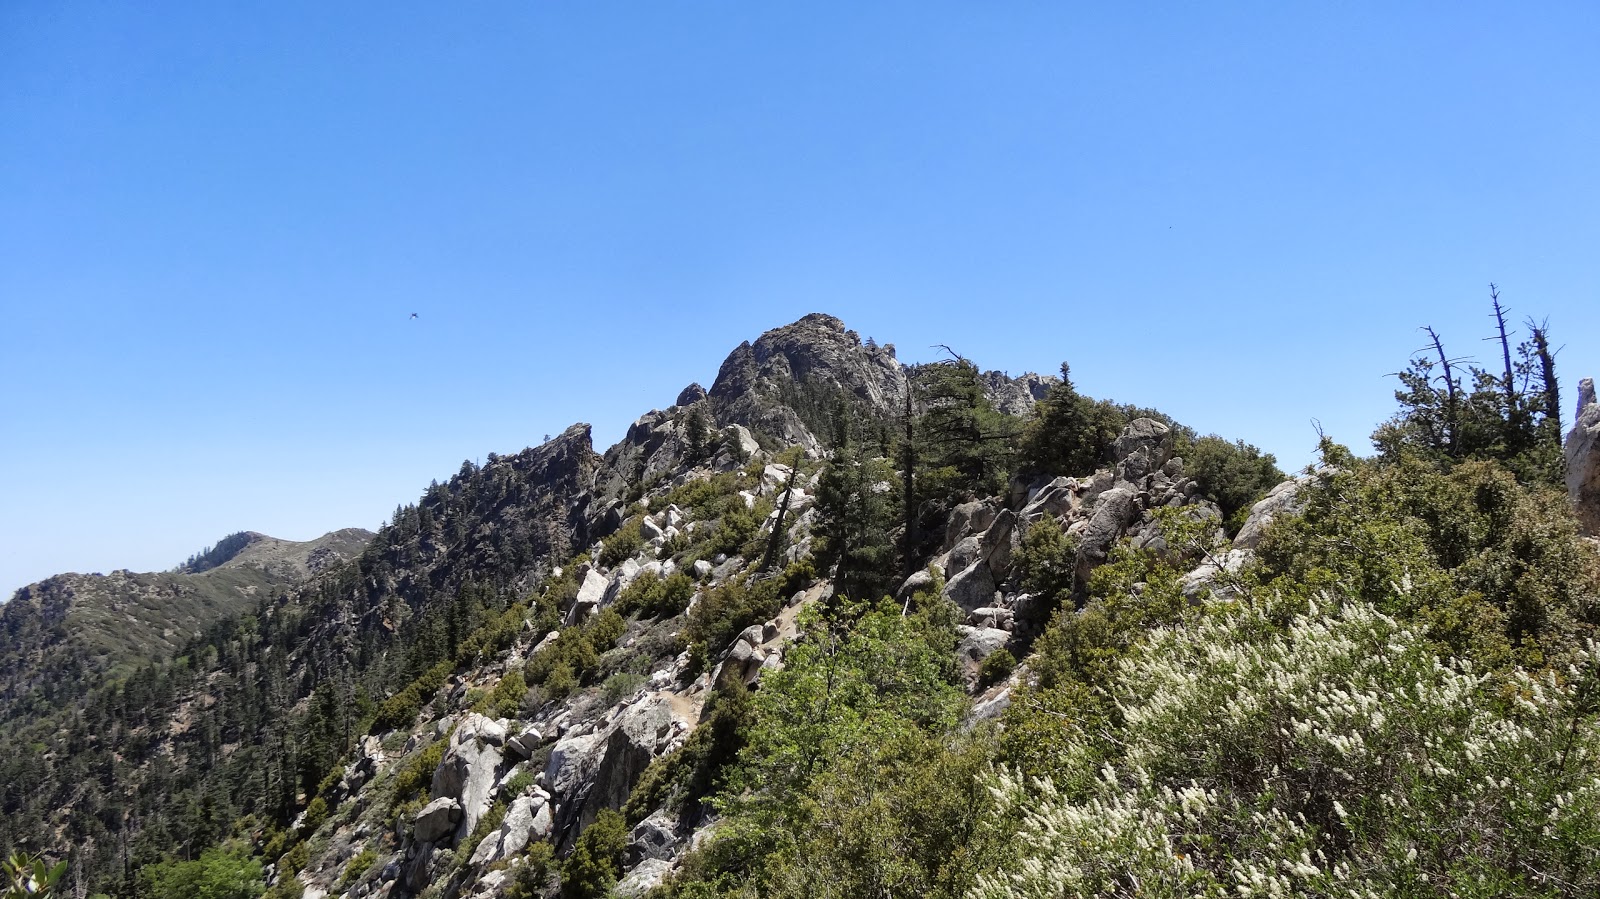
As one heads north, the terrain starts to get rougher and rockier. We were quite grateful to the builders of the PCT. This would be a difficult trip indeed absent a trail.
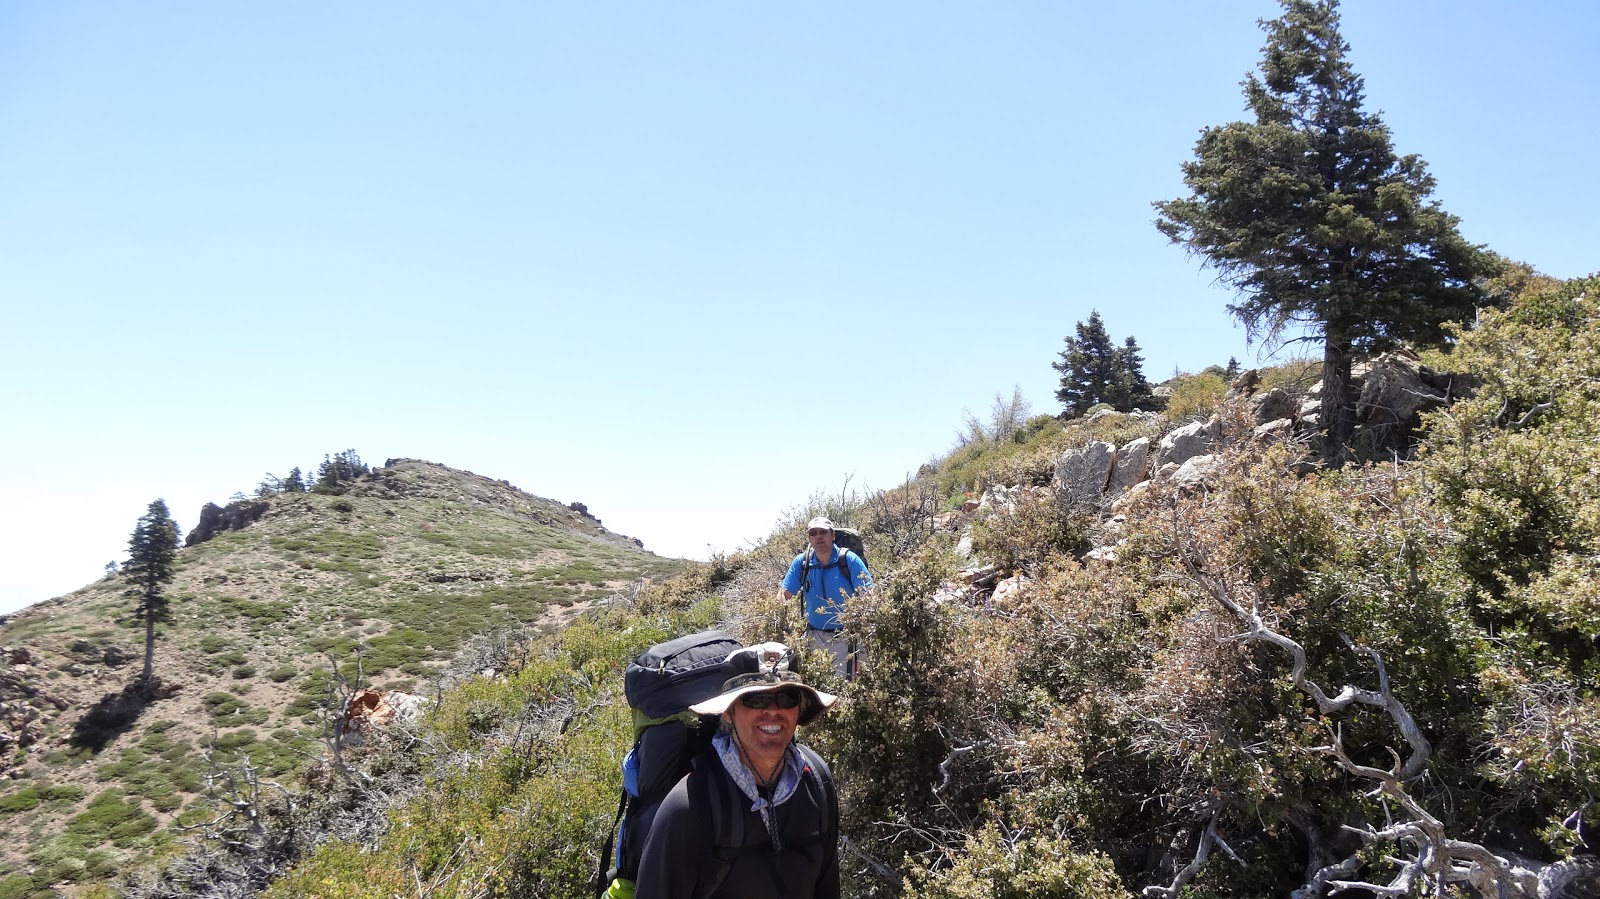
Soon, we reached Apple Saddle where we rendezvoused with friends John and Vicki who were doing the same section of the PCT, sans peaks. John and Vicki had graciously offered to shuttle us back to our car.

At Apple Saddle, not only did we find John and Vicki, but the precious water cache (three gallons/eleven liters!). Without this water cache, we’d have never made it. All five of us give Hal a hearty thanks.

Heading north from Apple Saddle, we came to Antsell Rock. Antsell Rock is the most difficult of the peaks on the Desert Divide.
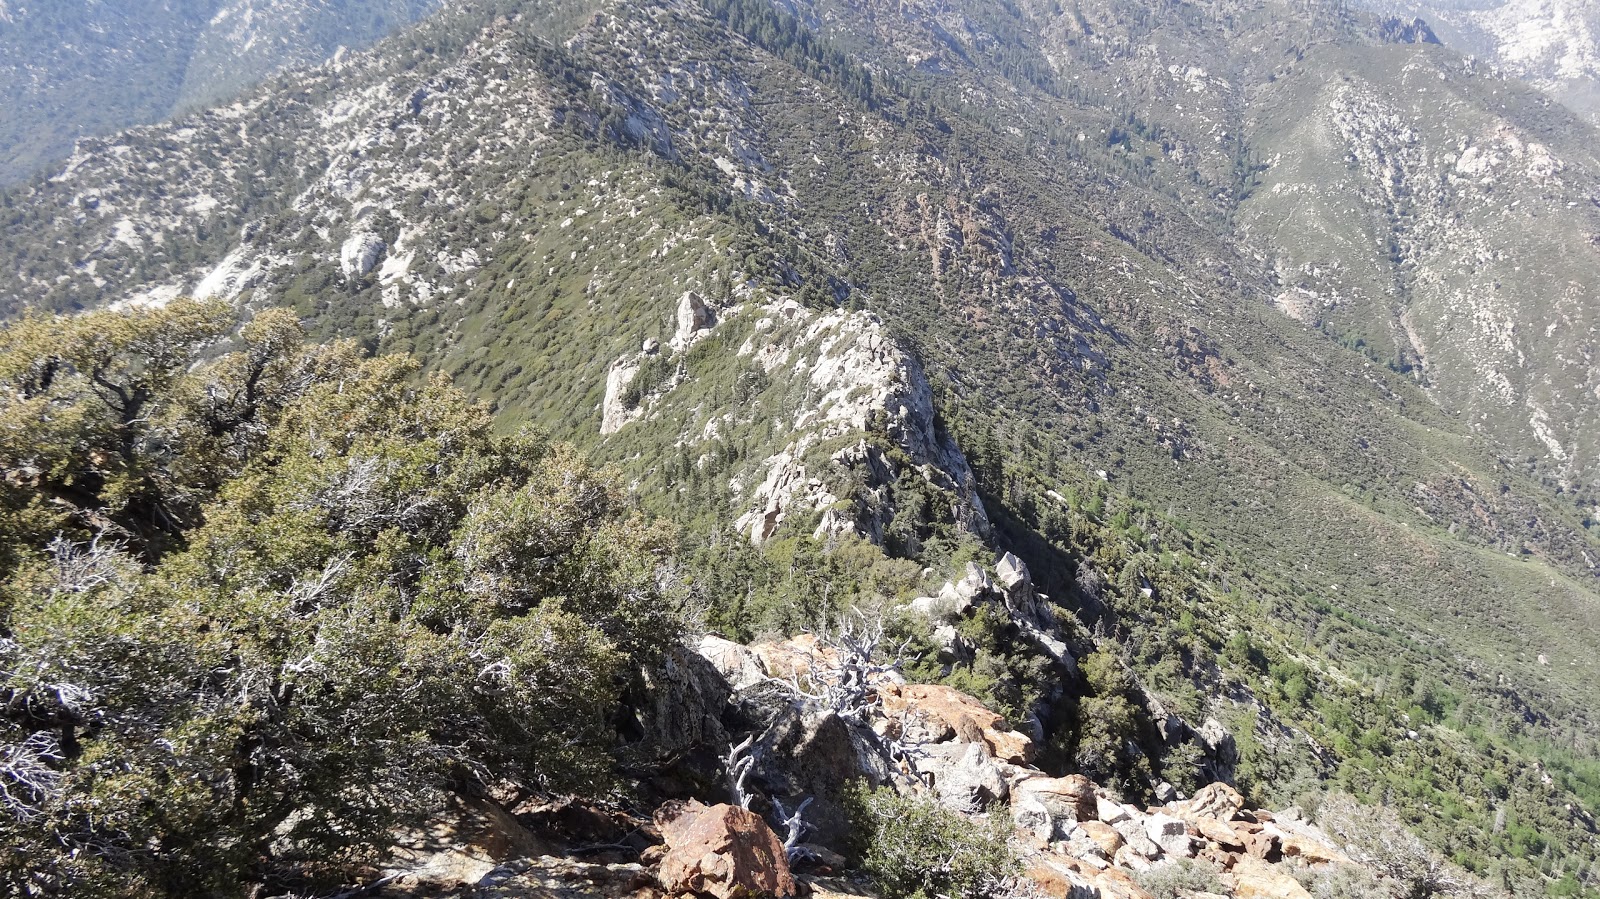
Antsell Rock is just that, a rock, and to ascend it, one must do a bit of class three rock climbing, and that climbing comes with a certain amount of exposure. See the Yosemite Decimal System if you’re not familiar with the different classes. Not only that, but the approach to the base of the rock requires a good bit of route finding, rock climbing, and bush whacking. The route to Antsell Rock:
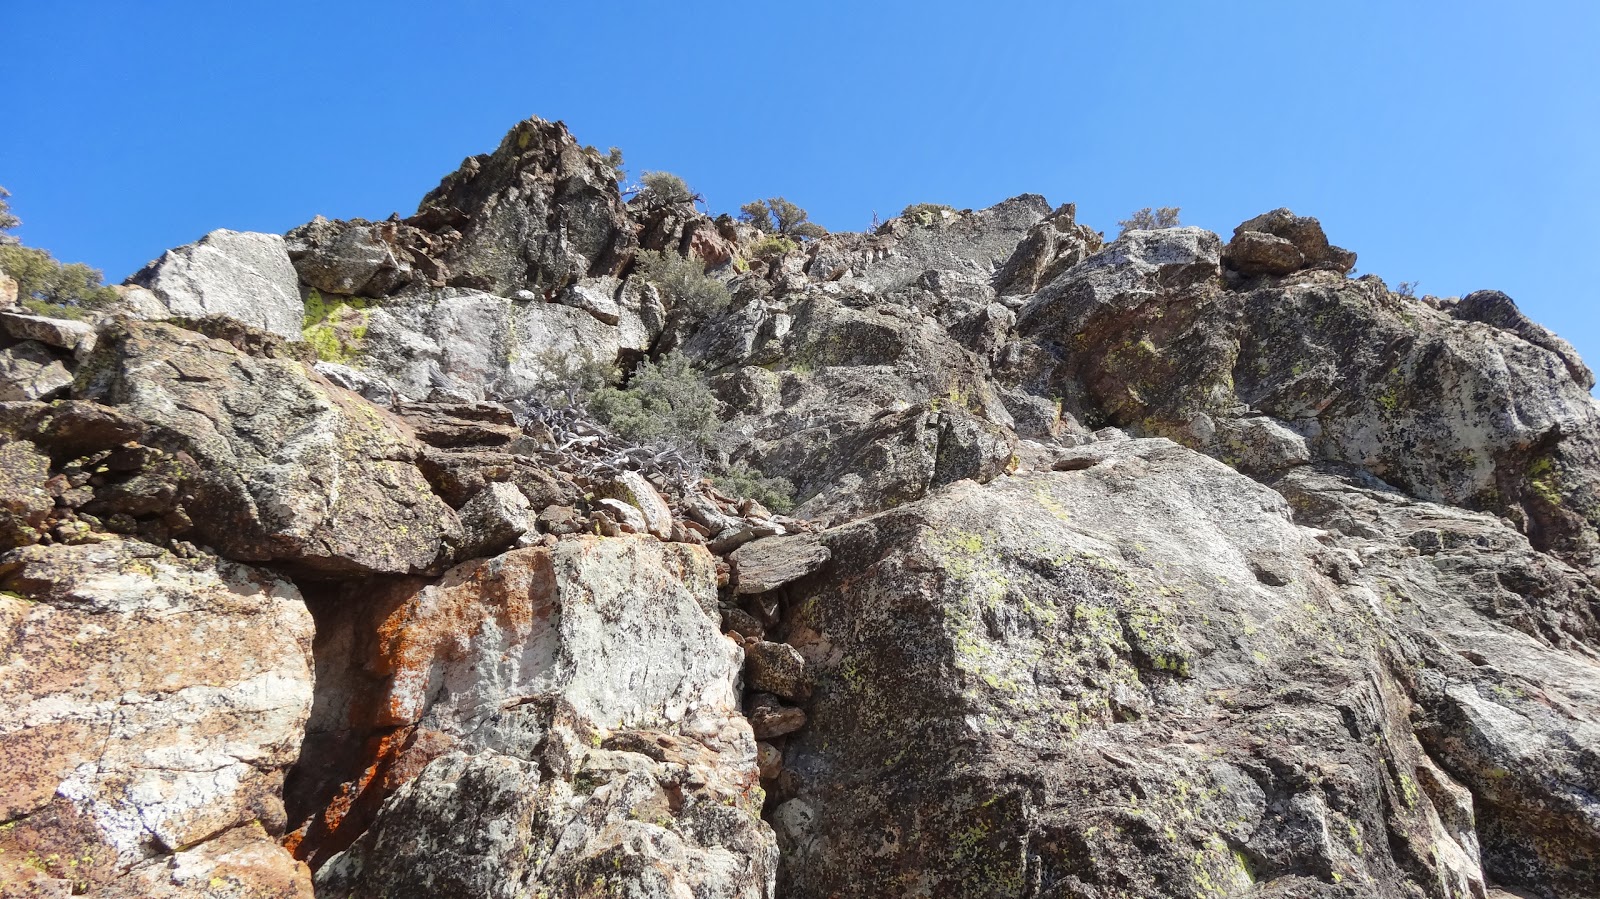
The ridge approach from the north alternates between brush and rock. There’s a lot of up and down. The route is not obvious. Think obstacle course not trail.

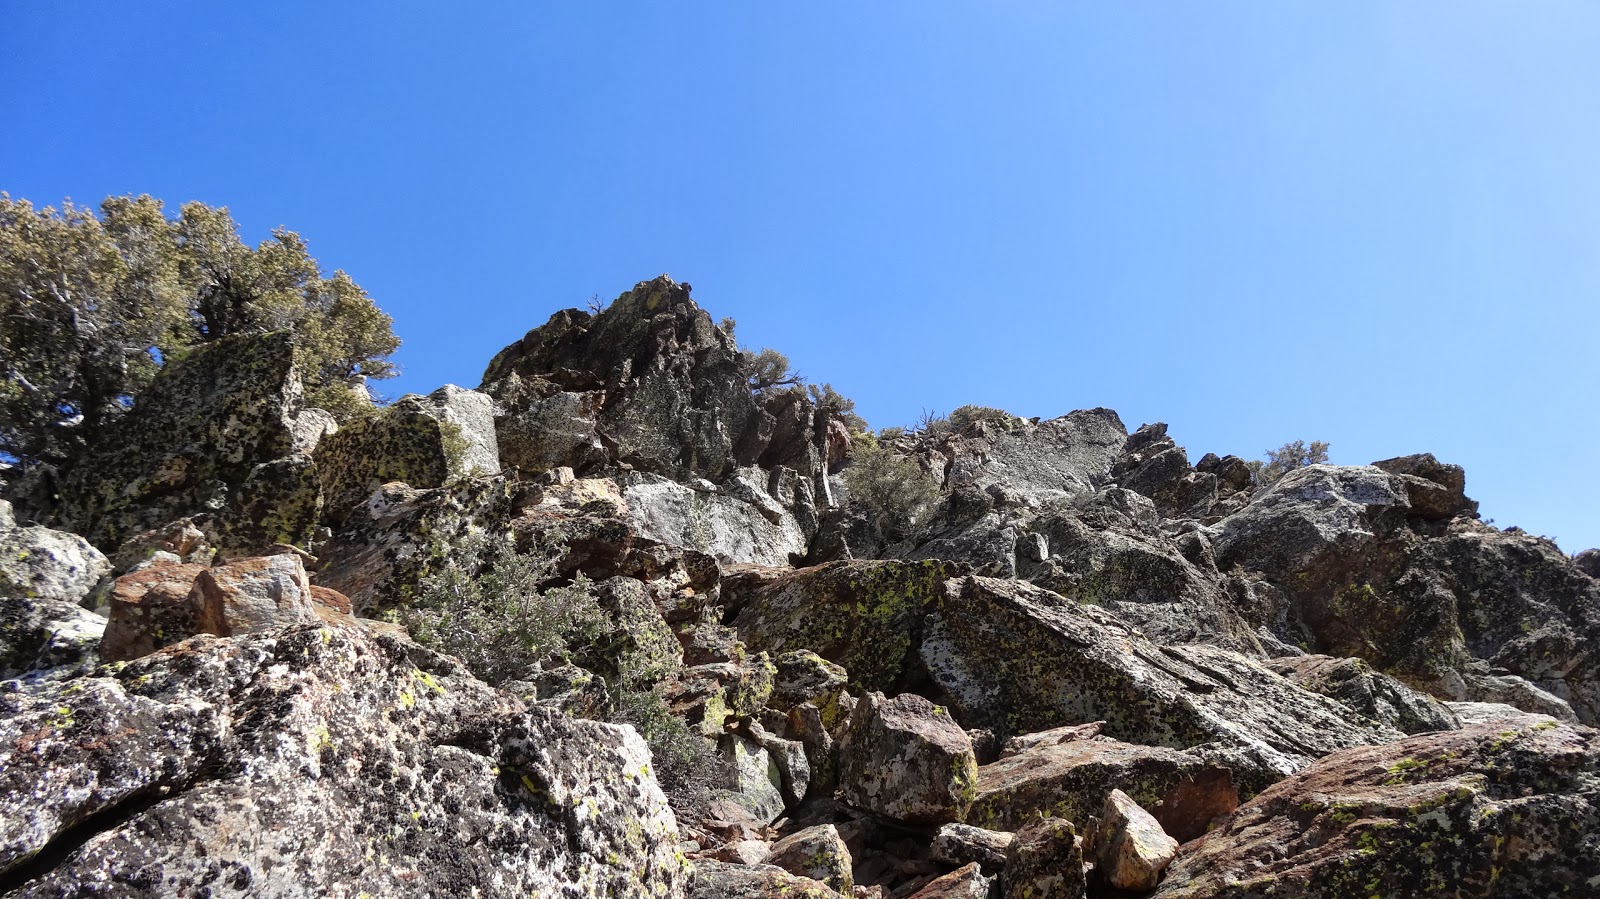
It took me a good hour to get from the PCT to the base of the rock, a distance of only about 1/3 of a mile (about 1/2 a kilometer)!
Downclimbing an obstacle en route to the base of Antsell Rock:
On both the approach and the return, one generally should stay on the west side of the ridge. The east side is quite steep.
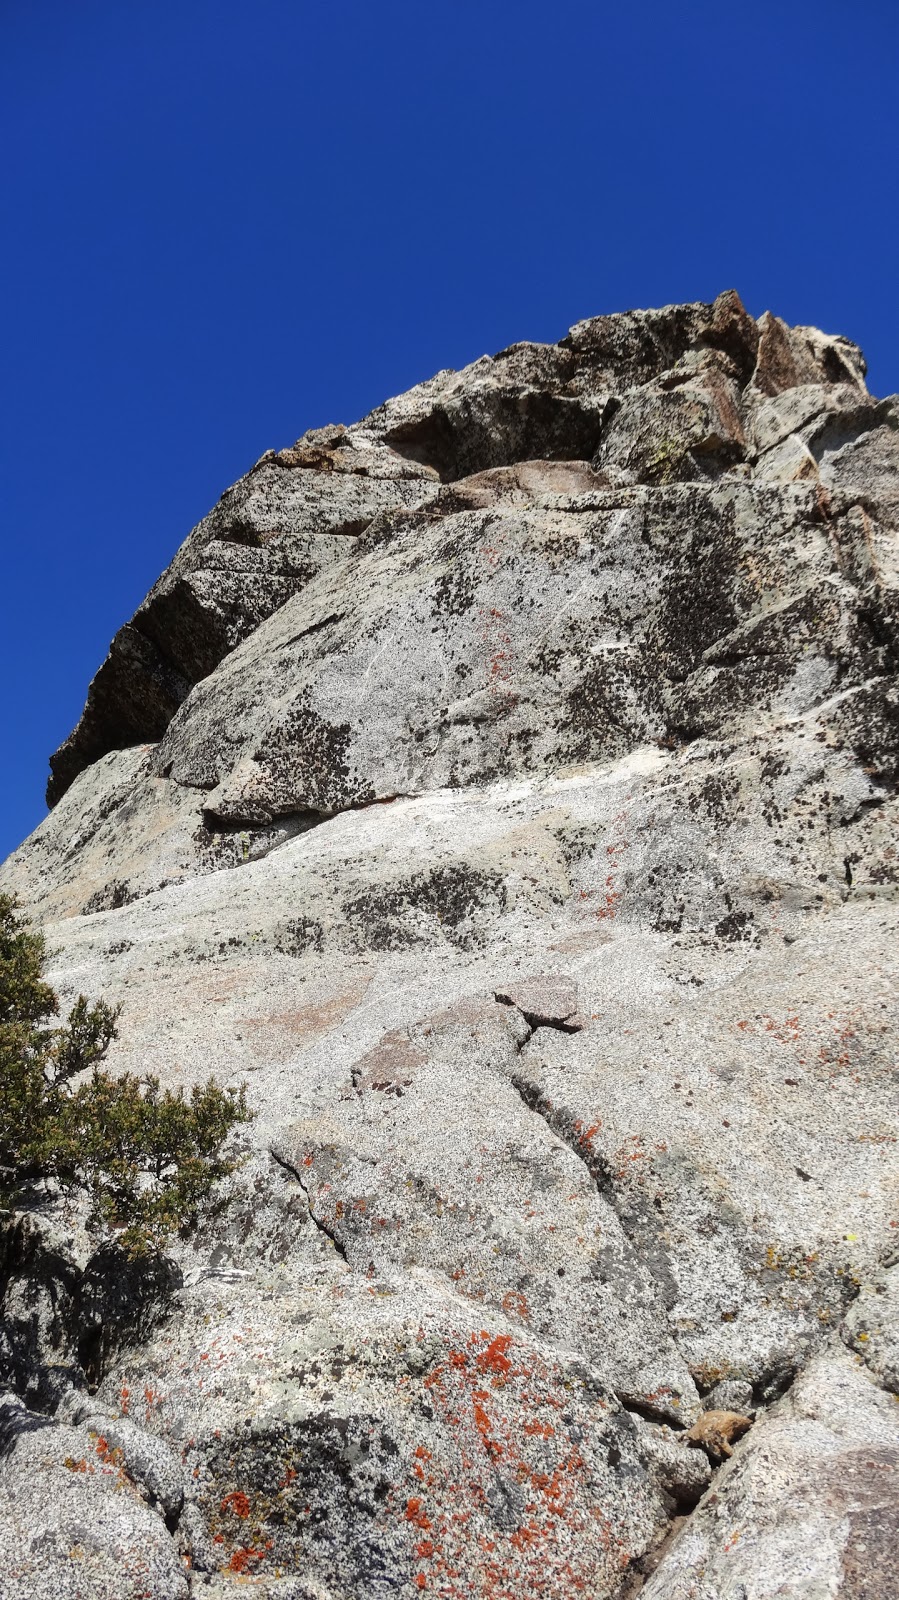
As one approaches the rock, one begins to get a sense of the true scale of this massive rock.

Staying on route is important because you need to get to this, a crack in the north face of Antsell Rock. This crack affords one access to a class 3 route to the summit. Other routes all traverse class 4 or class 5 terrain. Note the distinctive bonsai like tree by which the correct crack can be distinguished.

At the top of the crack, one reaches this chockstone, but it’s fairly easily surmounted either to the left or right.

Above the chockstone, one encounters a fairly smooth rock rib. There’s no class three route up this rib.
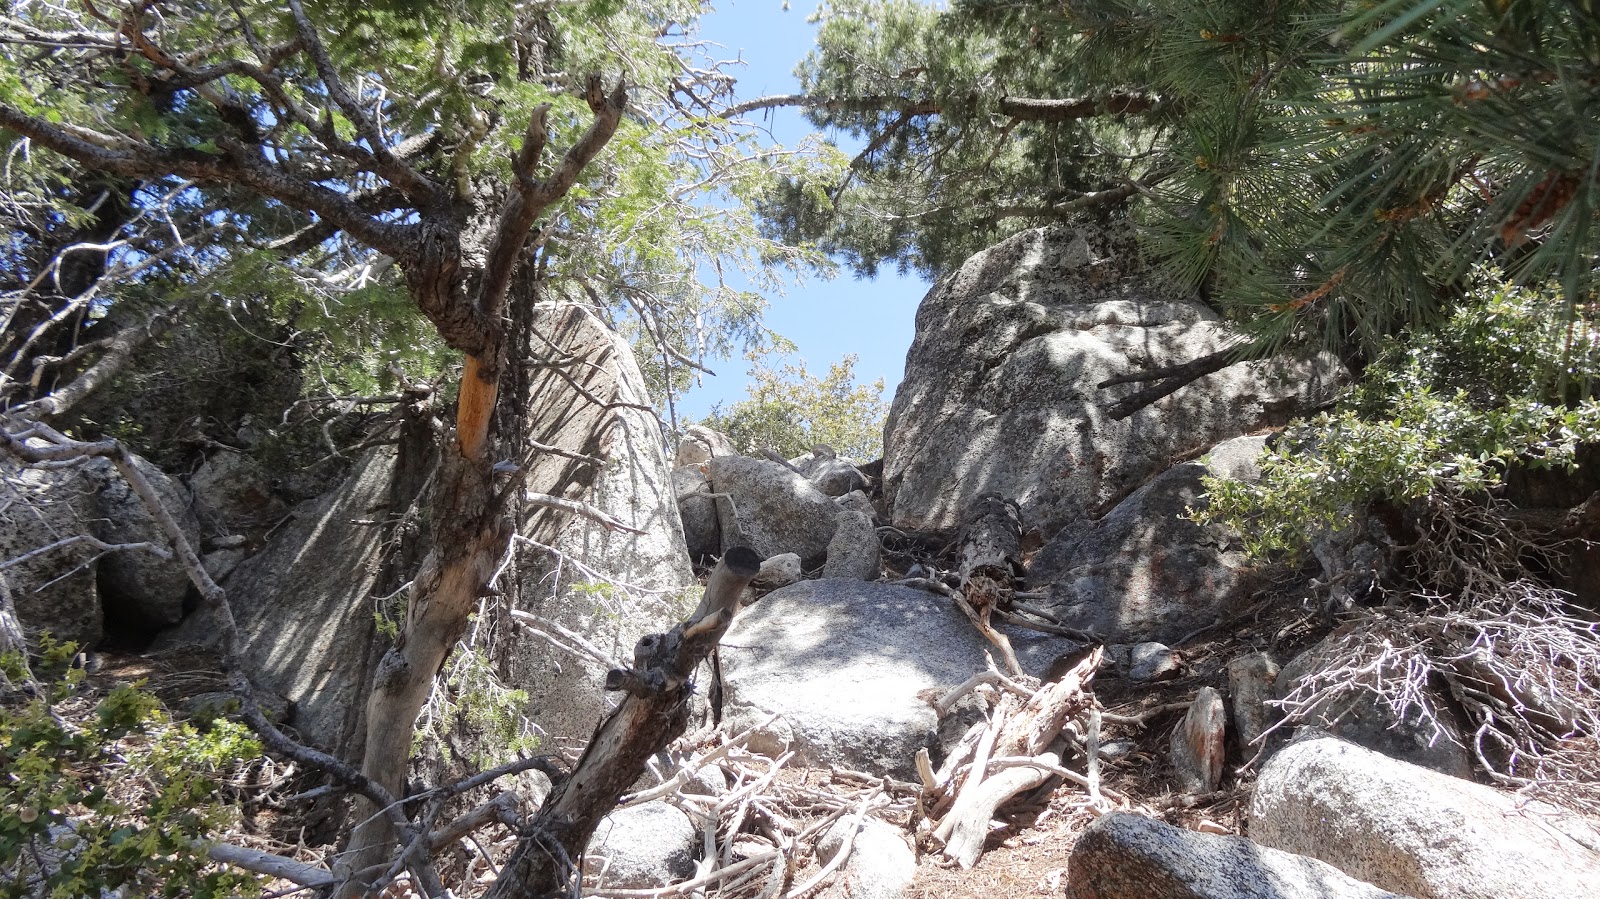
At this point, traverse to your right along some ledges past a dead pine into a brush choked gully.

Then ascend the brush choked gully until you reach the head of the gully.

Note: The brush in the gully is thick indeed. I had a water bladder clipped to the outside of my pack. The bladder got punctured as I forced my way through the brush. TIP: Though Nalgenes weigh three times what a bladder weighs, they may be worth it in thick brush. I lost a lot of my water and was forced to drink the rest on the spot.
Looking back down the brush choked gully.

At the head of the gully, go left up this crack.

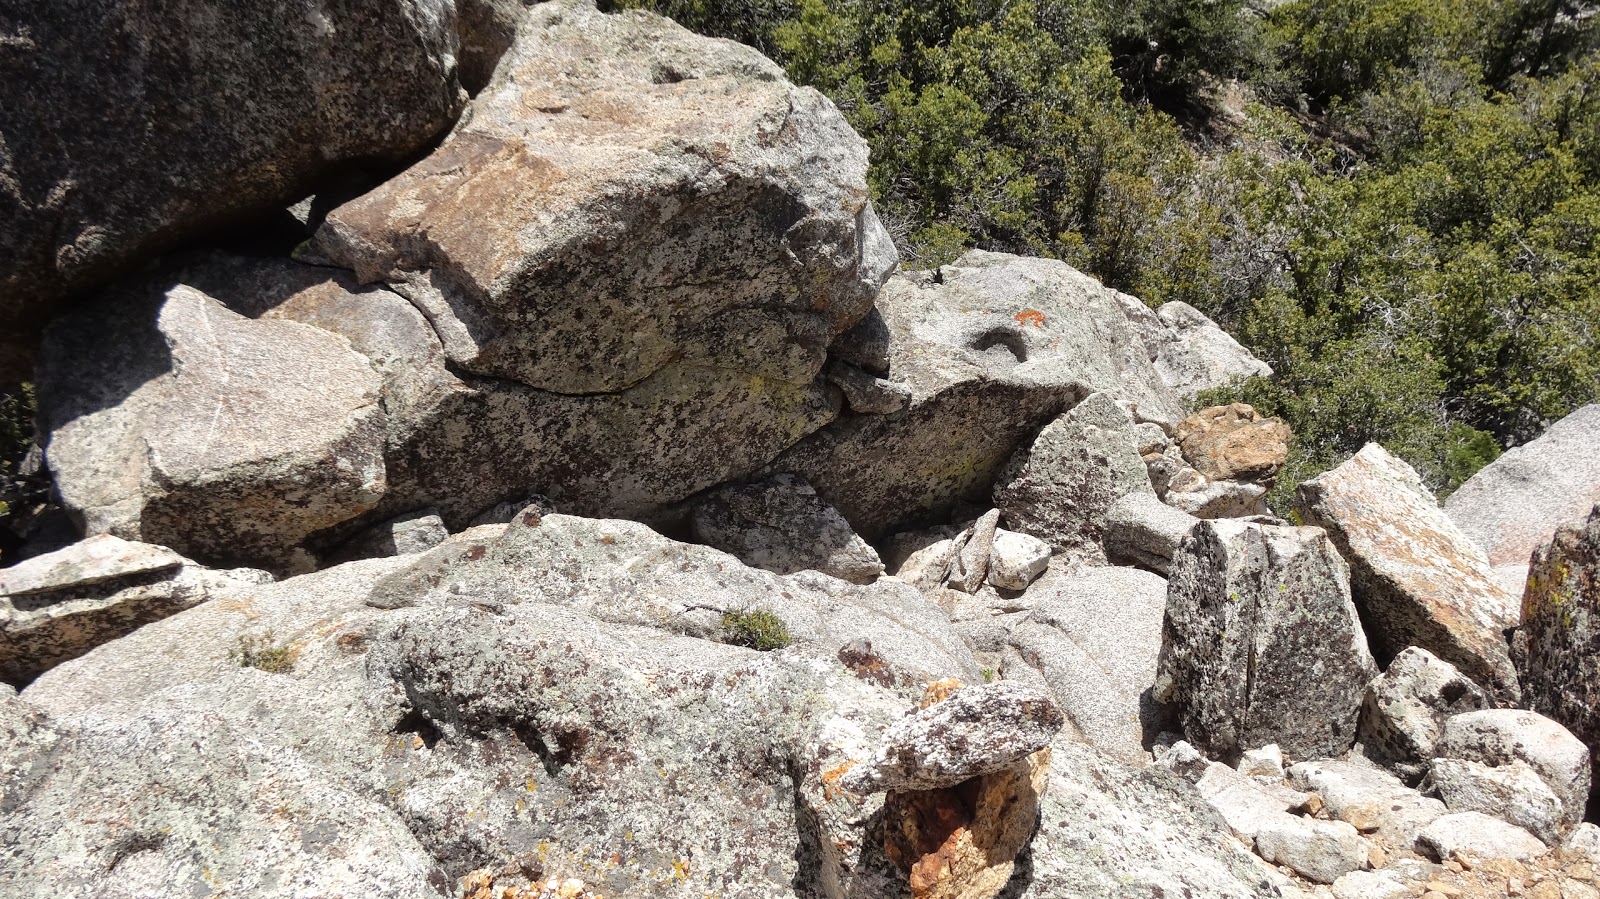
The rock quality in the white rock is generally very good. The rock quality when one finally reaches the red rocks is relatively poor. The red rocks are fractured and loose. Fortunately, the grade generally lessens when one reaches the red rocks. With care, a safe class three route can be had.
After climbing to the top of the crack in the red rocks, traverse climber’s left along this face until the grade decreases.
When you reach a point where the grade decreases a bit, scramble steeply up the mix of gray and red rocks to the summit.
Though the grade is not overly steep here, a stumble here would have serious consequences. Care must be taken with the placement of hands and feet.
At last, one reaches the fairly small but relatively flat summit of Antsell rock which is marked with a small aluminum pole.

While the approach took me about an hour, the ascent of the rock itself only took about 25 minutes. I took a moment to sign the summit register.

The views from the summit are quite good. West ridge of Antsell Rock:

Descend the way you came. Take care when returning to the brush choked gully. The descent is steep and a bit loose.

Take particular care to leave the brush choked gully at the same point you entered. Getting off route here would lead you into some very steep, loose terrain. The dead pine serves as a good route marker.

After completing the descent, I return to the PCT. Taking one last look at Antsell Rock, I moved on.

I reached the summit around 3:30 PM which returned me to the PCT at about 5:00 PM. Darkness would hit around 8:00 PM. The first campable site was still several miles north, and I’d be ascending the whole way. And I was still determined to bag Southwell Peak en route. Note: Southwell Peak is named for ranger Jesse Southwell. Most maps merely label the peak with the insipid moniker “South”. Apparently Mr. Southwell was still alive when the map was drawn up, and this didn’t sit well with the Board of Geographic Names who shortened the name to avoid commemorating someone still among the living.
As I ascended the flanks of Southwell Peak, I was treated to fabulous views of Antsell Rock, easily one of the most photogenic peaks in Southern California.

Surprisingly, the PCT which heretofore had been fairly well maintained was a bit brushy.

There was also a sizable boulder down on the trail. Fortunately, it wasn’t too hard to bypass on the left.

Finally, as I ascended the flanks of Southwell peak, I reached the highest point of the PCT on Southwell. Here, there was a fairly clear use trail leading steeply up. Ten minutes later I was standing on the peak in the fading light.

Note: Some of the route descriptions for Southwell Peak aren’t particularly good in my opinion. The approach is from the high point of the PCT on the east side of the peak. If you’re traveling south bound, it’s just after this rock wall:

If you’re traveling north bound and you come to the above rock wall, go back perhaps 100 yards/100 meters looking for a use trail.
I reached Southwell’s summit at about 7:00 PM. I had one hour of daylight left to get to camp! I did not want to be out on this steep and precipitous section of the PCT after dark. Fortunately, I pulled off the trail at a campable site just as darkness fell. One of the great advantages to hiking in dry country is that there are relatively few insects and it seldom rains. One can “cowboy camp.” That is, one can sleep out under the stars without needing a shelter. And so I did.
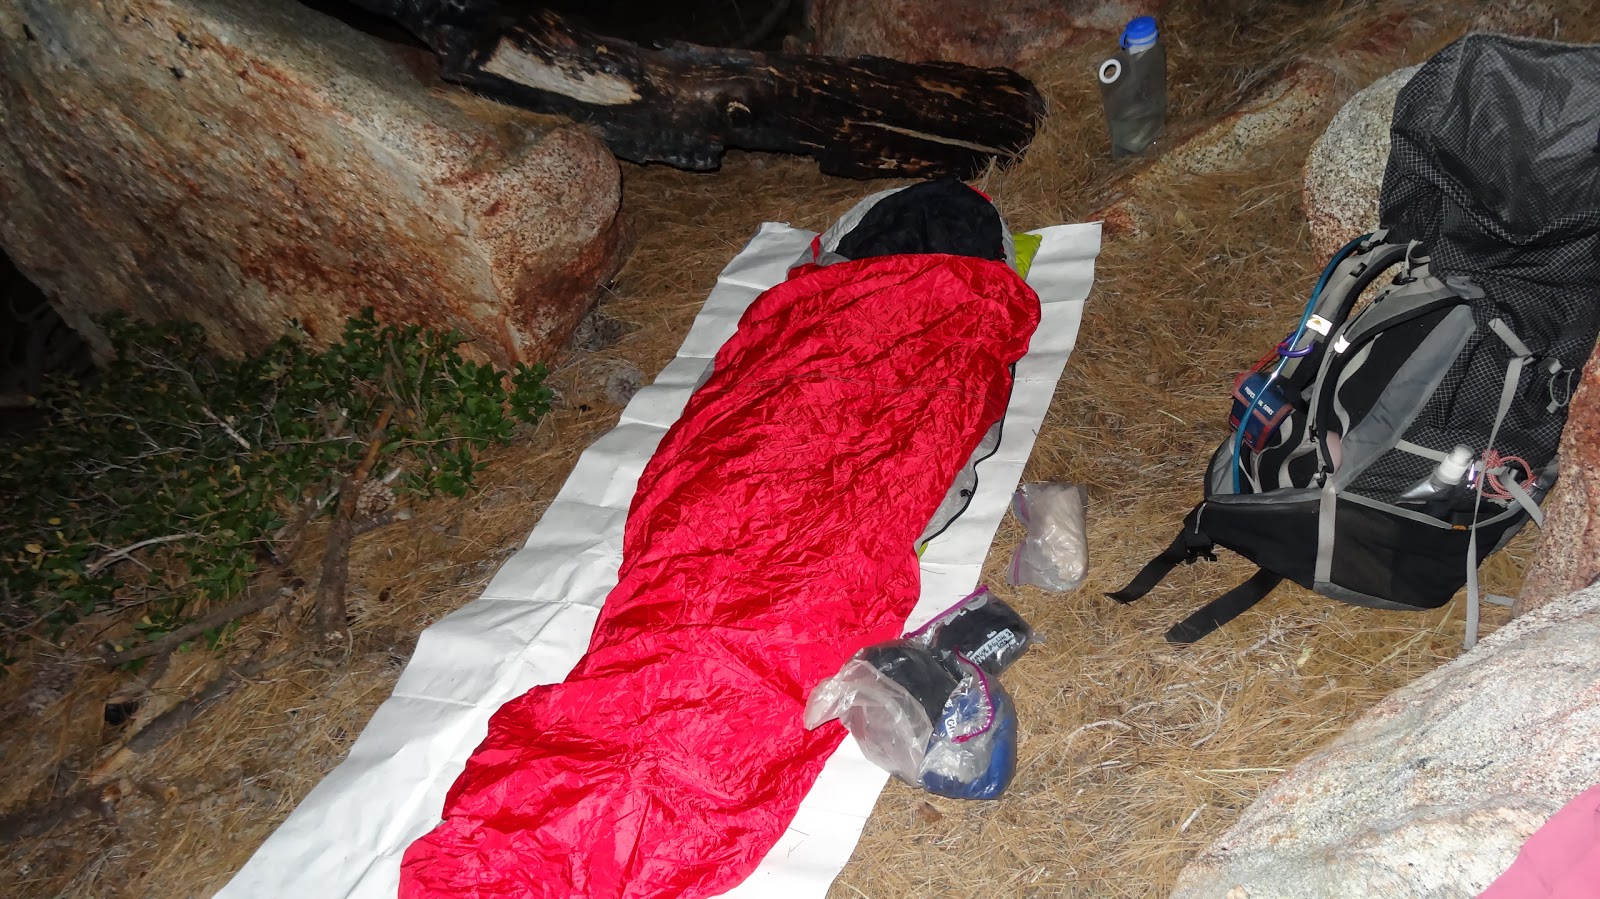
I must say “cowboy camping” is my favorite and most comfortable form of camping. Shelters are confining, have problems with condensation, are prone to overheating in warm weather, and block one’s view of the night sky. Realistically, shelters buy one little in areas where bugs and precipitation aren’t a problem.
In the morning I arose, tired, but with a sense of accomplishment having done the hardest peak on the Desert Divide, Antsell Rock. From my camp’s vantage point, I took in the view:
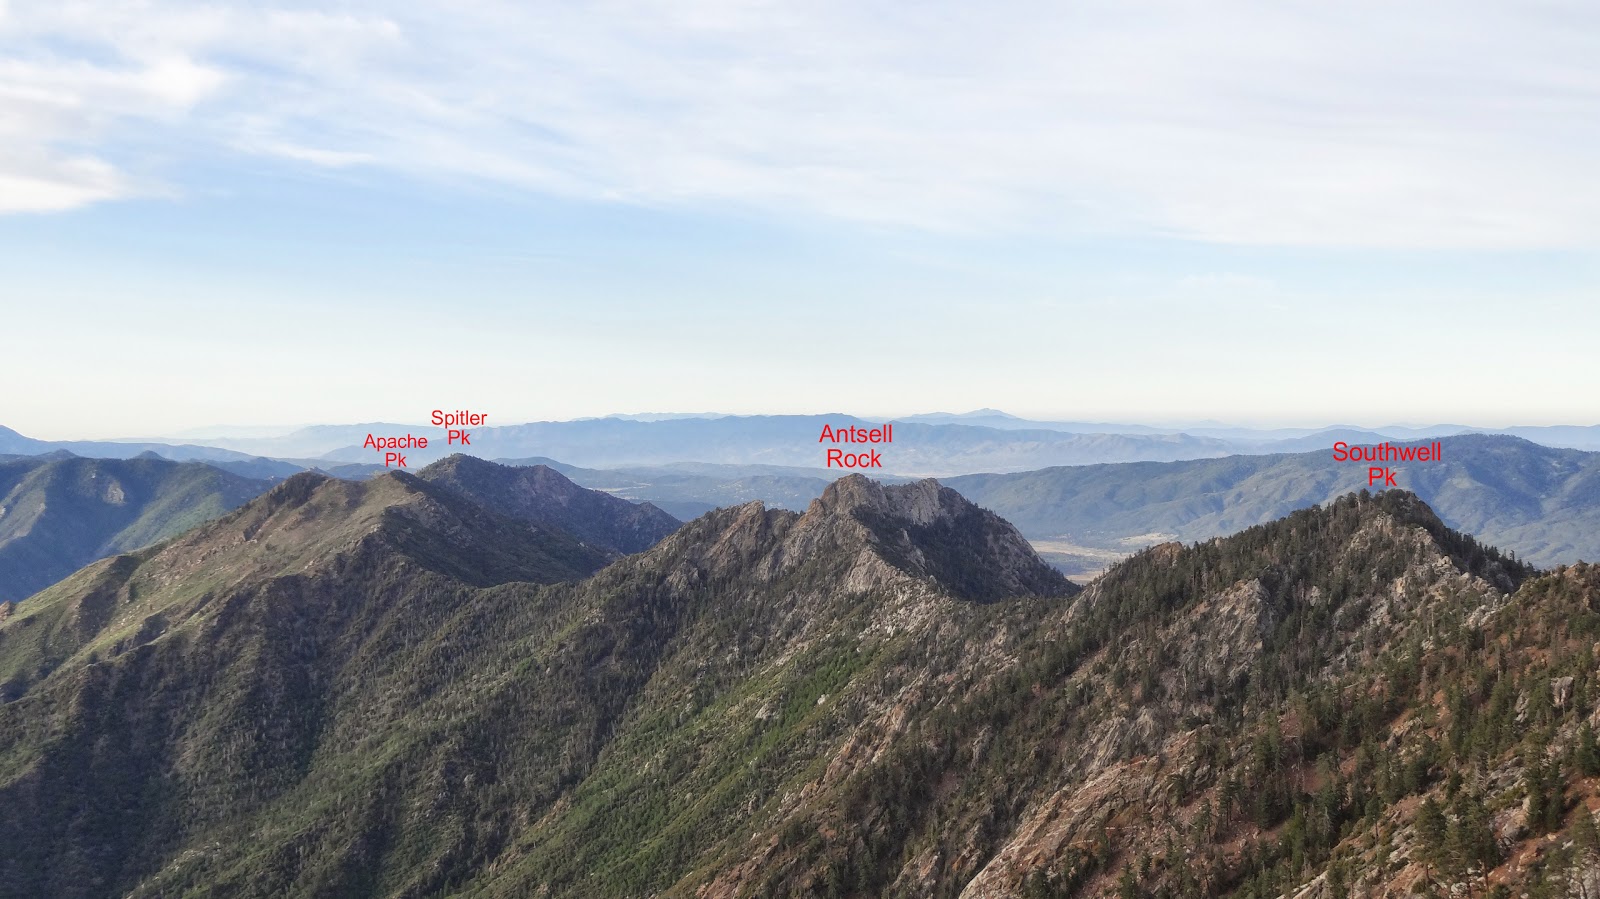
I think the view of Antsell Rock is particularly good from the eastern flanks of Red Tahquitz, the location of my third night’s camp.

After taking in the view, I headed east on the PCT through the beautifully wooded Tahquitz Valley.

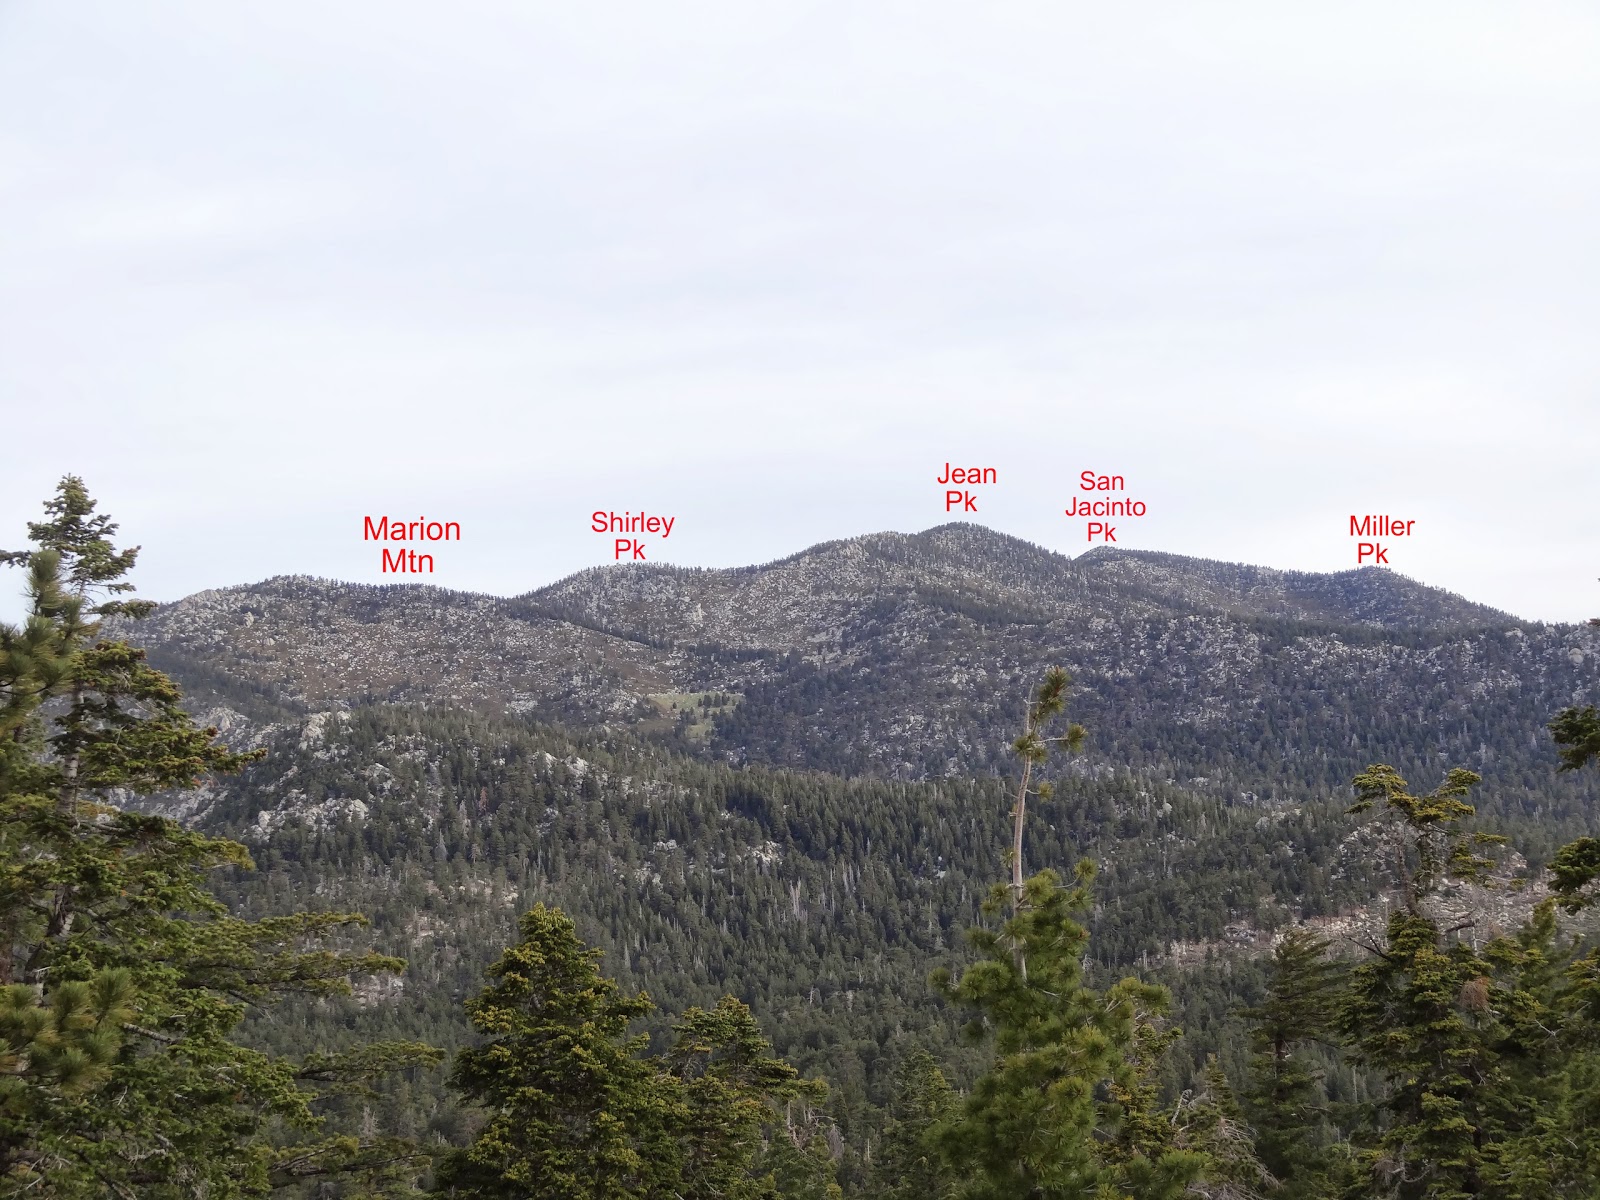
From the PCT, I had good views of the high country of the San Jacintos. Every peak named in the below photo is over 10,000’/3000m in elevation.
The wooded Tahquitz Valley is one of the most beautiful places in Southern California. Regrettably, much of the area was immolated in the July 2013 Mountain Fire.

Reaching Little Tahquitz Valley, just east of the PCT trail junction there, I see a most welcome sight: water! This is the first water I’ve seen since the cache yesterday around lunch time, and this is fresh, flowing water, not water from a cattle trough. Lovely, truly lovely.

We leave the PCT here at the Little Tahquitz junction. Oddly, the PCT takes a more roundabout route to get to Saddle Junction, where we’ll catch the Devil’s Slide Trail to Humber Park, our exit trailhead. Here’s a map of our detour:
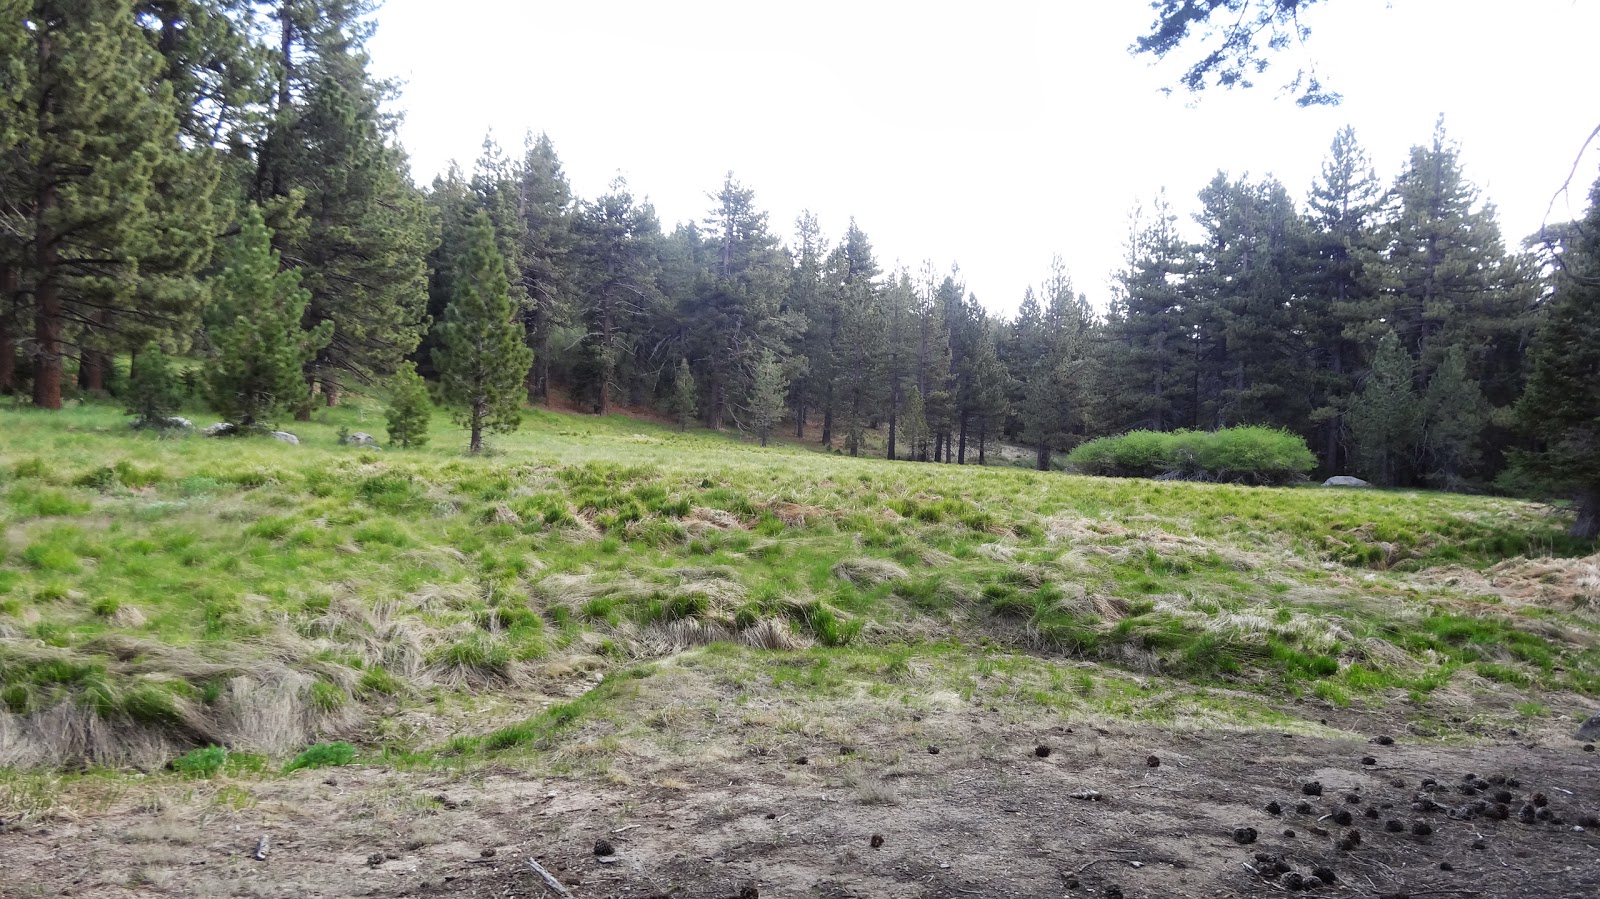
Our “detour” from the PCT rewards us with a trip through lovely Tahquitz Meadow.
Shortly thereafter, we reach Saddle Junction, and we turn off the PCT for the final leg of our journey.

The views from the Devil’s Slide Trail of massive Lilly Rock (known to climbers simply as “Tahquitz”) are fabulous.

At long last, we reach the trailhead and bid fond farewell to the San Jacinto Wilderness, tired and dirty, yes, but quite happy. What a great area for backpacking!

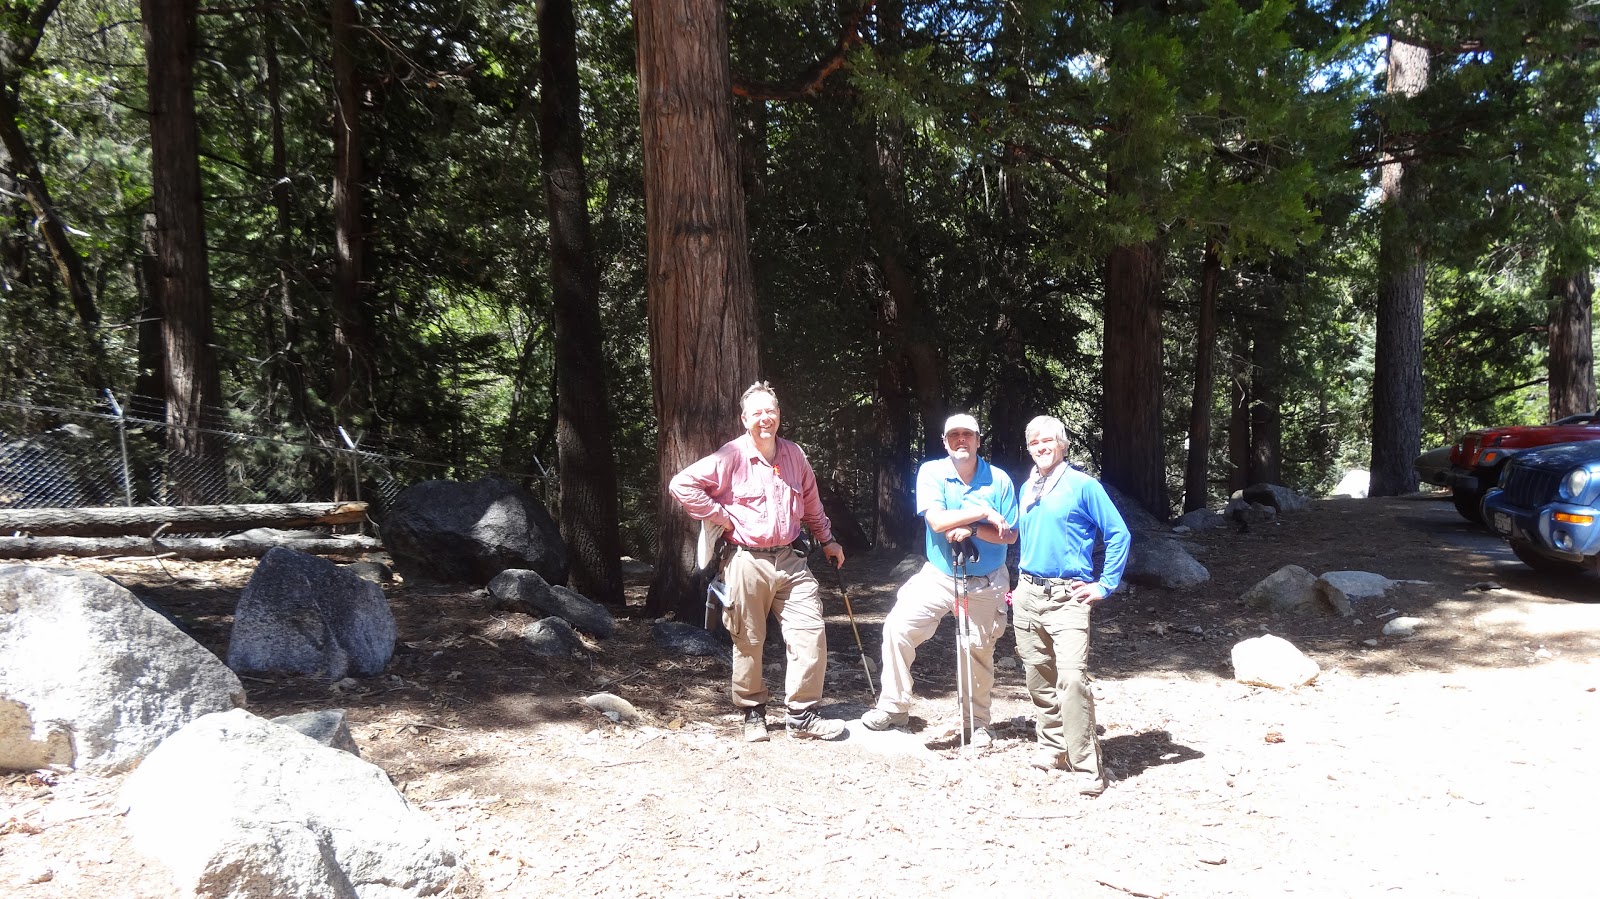
At the exit trailhead:
Note: On the last day, we had scheduled an ascent of Red Tahquitz, the views to the east and south from which are simply outstanding. I had previously climbed Red Tahquitz on two occasions, and my friends wanted to get going, so we decided to head for our exit trailhead rather than climbing number twelve of the Desert Divide Dozen. So, on my Desert Divide Dozen trip, I really only summited 9 out of the intended 12 peaks. Fail! The good news is that even on a “failed” trip, you can still have a a great time going through beautiful country and walk away with a sense of accomplishment. Failure? Perhaps, but what glorious failure. 🙂 Seriously though, any trip in the backcountry that you honestly enjoy can scarcely be regarded as a failure.
I thank you for joining me on this trip up the PCT along the Desert Divide of the San Jacinto Mountains,
HJ
